Years ago I used to work for the local cable company doing residential installations. During those travels, I got to see the insides and outsides of many homes covering the full spectrum of domaciles, and nothing seemed quite as inviting as an illuminated doorbell button. “Look at me, I am all lit up – press here to be welcomed inside!” it would say. However, as with all light bulbs, especially incandescent ones, the light inside would eventually burn out and it’s warm inviting glow would shine no more. When we bought our house, it’s doorbell buttons, front and back, had lights within that were already burnt out, and so the buttons worked but were not nearly so inviting. I went to the local home depot and bought new ones to replace them, but they were more costly than I would have liked, and I knew they would burn out again long before I felt I’d gotten my value from them. Surely there had to be a better way.
Anyone who knows me or has been around me long enough has probably heard me express my distaste of LED lights. What should be clarified is that it is not LED’s themselves that I am opposed to, but rather using them incorrectly. What I mean is that LED’s are great for indicators, status lights, pilot lights, etc. They are NOT great for general lighting. However this, being a situation requiring indication and not general lighting, would be a perfect application for a retrofit to LED lights.
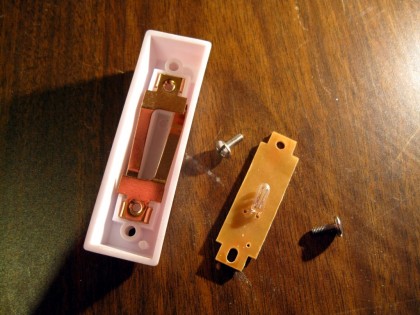
I started by removing the button from the door frame and inspecting the contents; there really was not much to it. The button is set up in such a way that power from the transformer flows through the light bulb and through the coil of the doorbell coil where there is enough resistance to prevent the coil from activating. However, when you push the button, this effectively shorts out the light bulb, causing enough current to flow to the electromagnet inside the doorbell, pulling in the plunger and striking the metal bell (or bar.) Ding Dong.
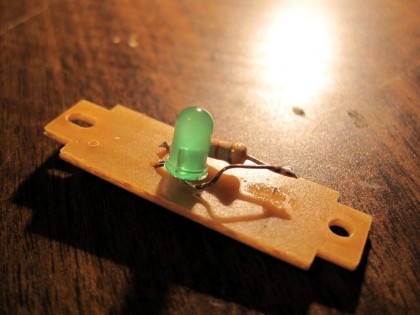
I removed the small incandescent light bulb from the circuit board and mounted a single green LED with an appropriate resistor in it’s place. It is at this point that I should back up to point out that my doorbell buttons do not actually run to my doorbell. Several years ago I re-wired them to run back to an input on a board controlled by Venturii so that I could interrupt any doorbell button presses and have them do other things besides just ringing a bell. I also put them on a schedule so that after hours when the kids are in bed & asleep, the doorbell will not ring but instead a visual indicator is activated. This setup worked fine when the light in the doorbell button was burnt out, but now that I wanted to light them up again I had to alter my plan. With an incandescent bulb in the switch, I installed a 24V relay at the other end, and the 16 VAC from the doorbell transformer was enough power to throw the relay when the button was pressed. With a single LED in there instead of the incandescent lamp, the relay FLIPPED OUT! It sounded like one of those old fashioned, mechanical buzzers.
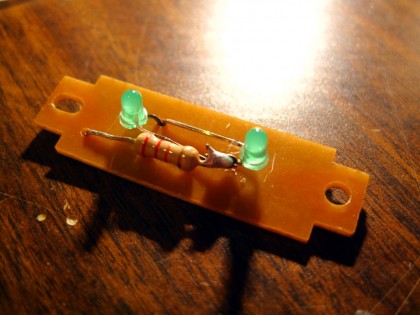
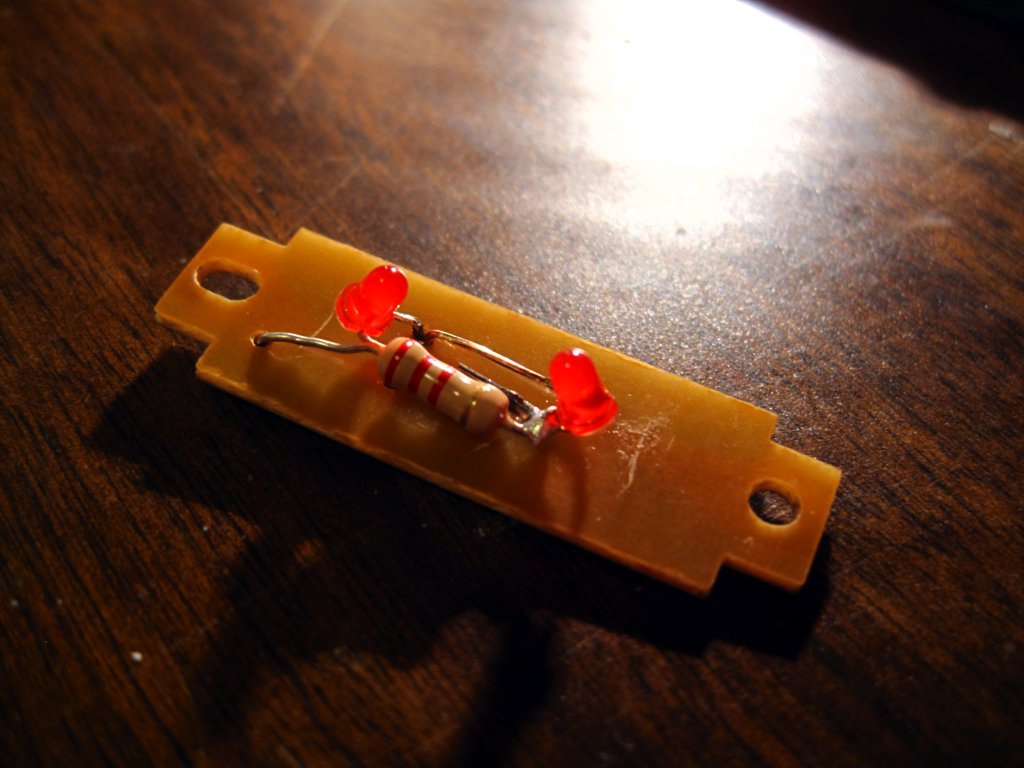
This made sense, since on every half cycle the diode (LED) would conduct current, causing the relay coil to activate for half the cycle and rest the other half when the LED blocked the current. What I needed was two LED’s connected in parallel but each with different polarity so that on the positive half cycle one would light and on the negative half cycle the other would light, and there would be just enough current to keep the relay coil in place. That is exactly what I did:
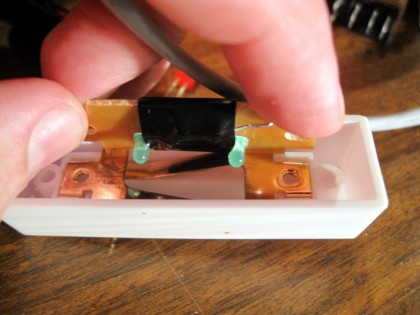
I wrapped some tape around the wires on the inside since it was possible they would hit the metal bars that formed the switch, and re-assembled the unit as a whole. The LED’s and resistor all fit perfectly inside the case of the switch – it was like it was designed to accommodate LED’s OR Incandescent Bulbs.
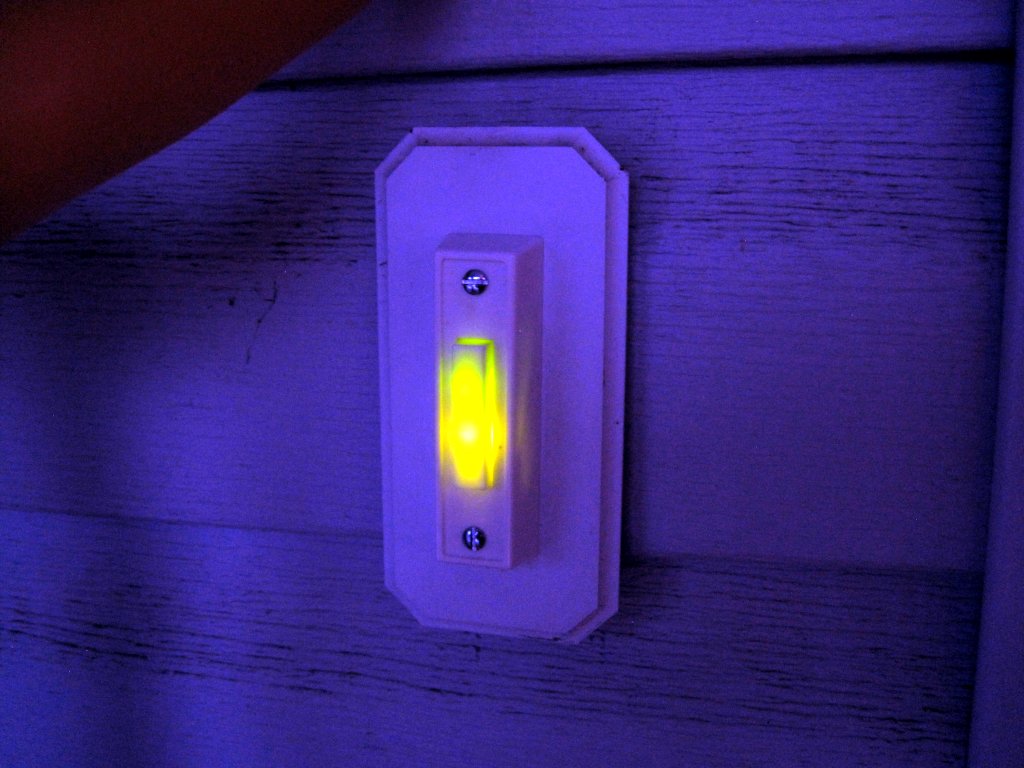
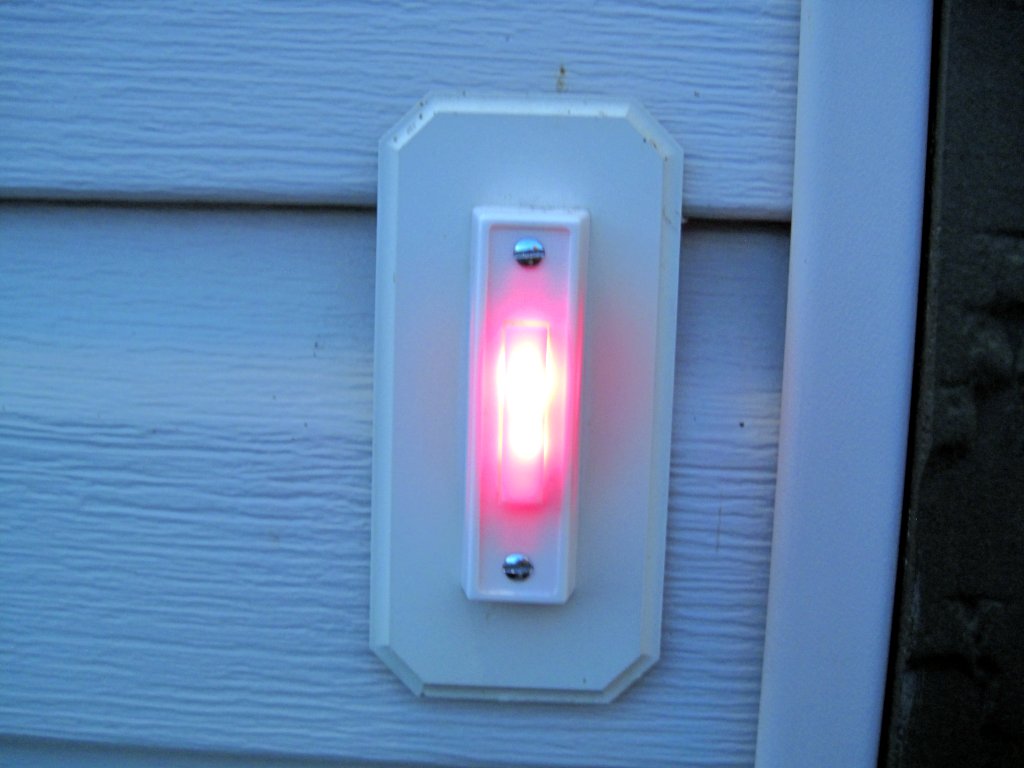
Of course, I grabbed LED’s from my misc part bin, and as it turned out – the two Green LED’s I grabbed were slightly different colors! I also retrofitted the back doorbell switch with red LED’s and it looks slick – you can see it from a block away! My camera’s perception of “white” was a bit off in the picture, but you can see the effect the different green LED’s had. I was thinking what I might do if I retrofit another button would be to put in some self-controlled multi-colored LED’s instead to really make the button stand out. Two of those little guys would create quite the psychadelic button!
… And just for completeness, the red model:

