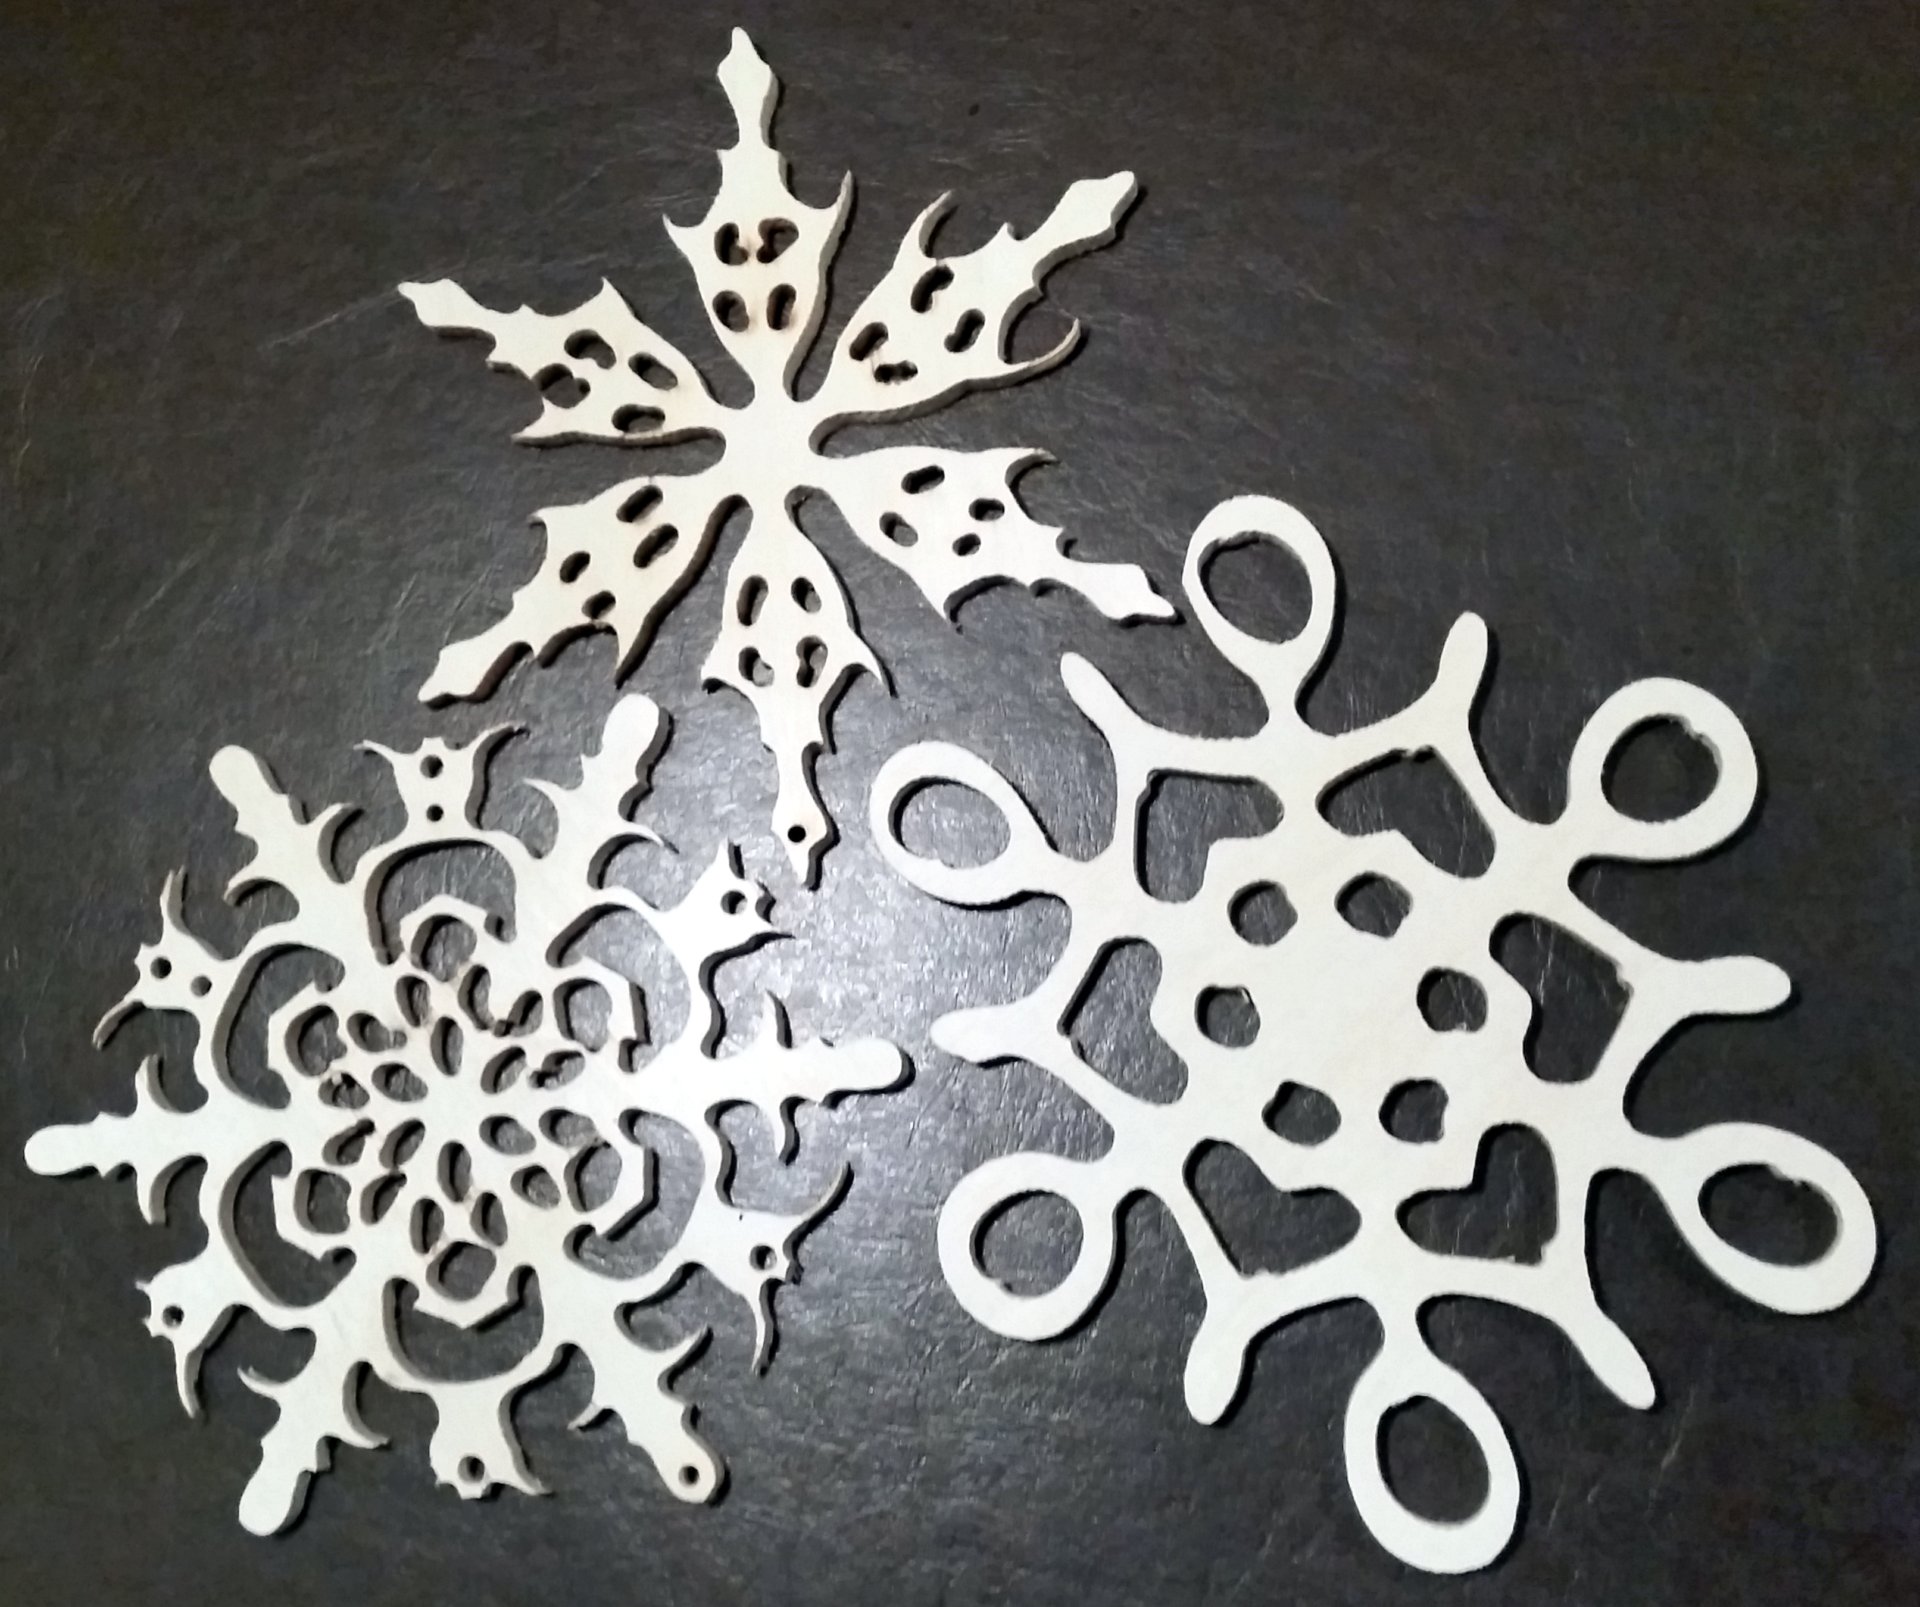
Once I got the Shapeoko 3 setup, my wife quickly started churning out projects for [us] to work on using it. The first of what I’m sure will be many was this: Making wooden snowflakes to hang in our windows. Of course, I’m just starting to break the ice in the ocean of CNC Routing, but the Shapeoko 3 is a pretty nice machine and I think I’m starting to get the hang of some of the basics.
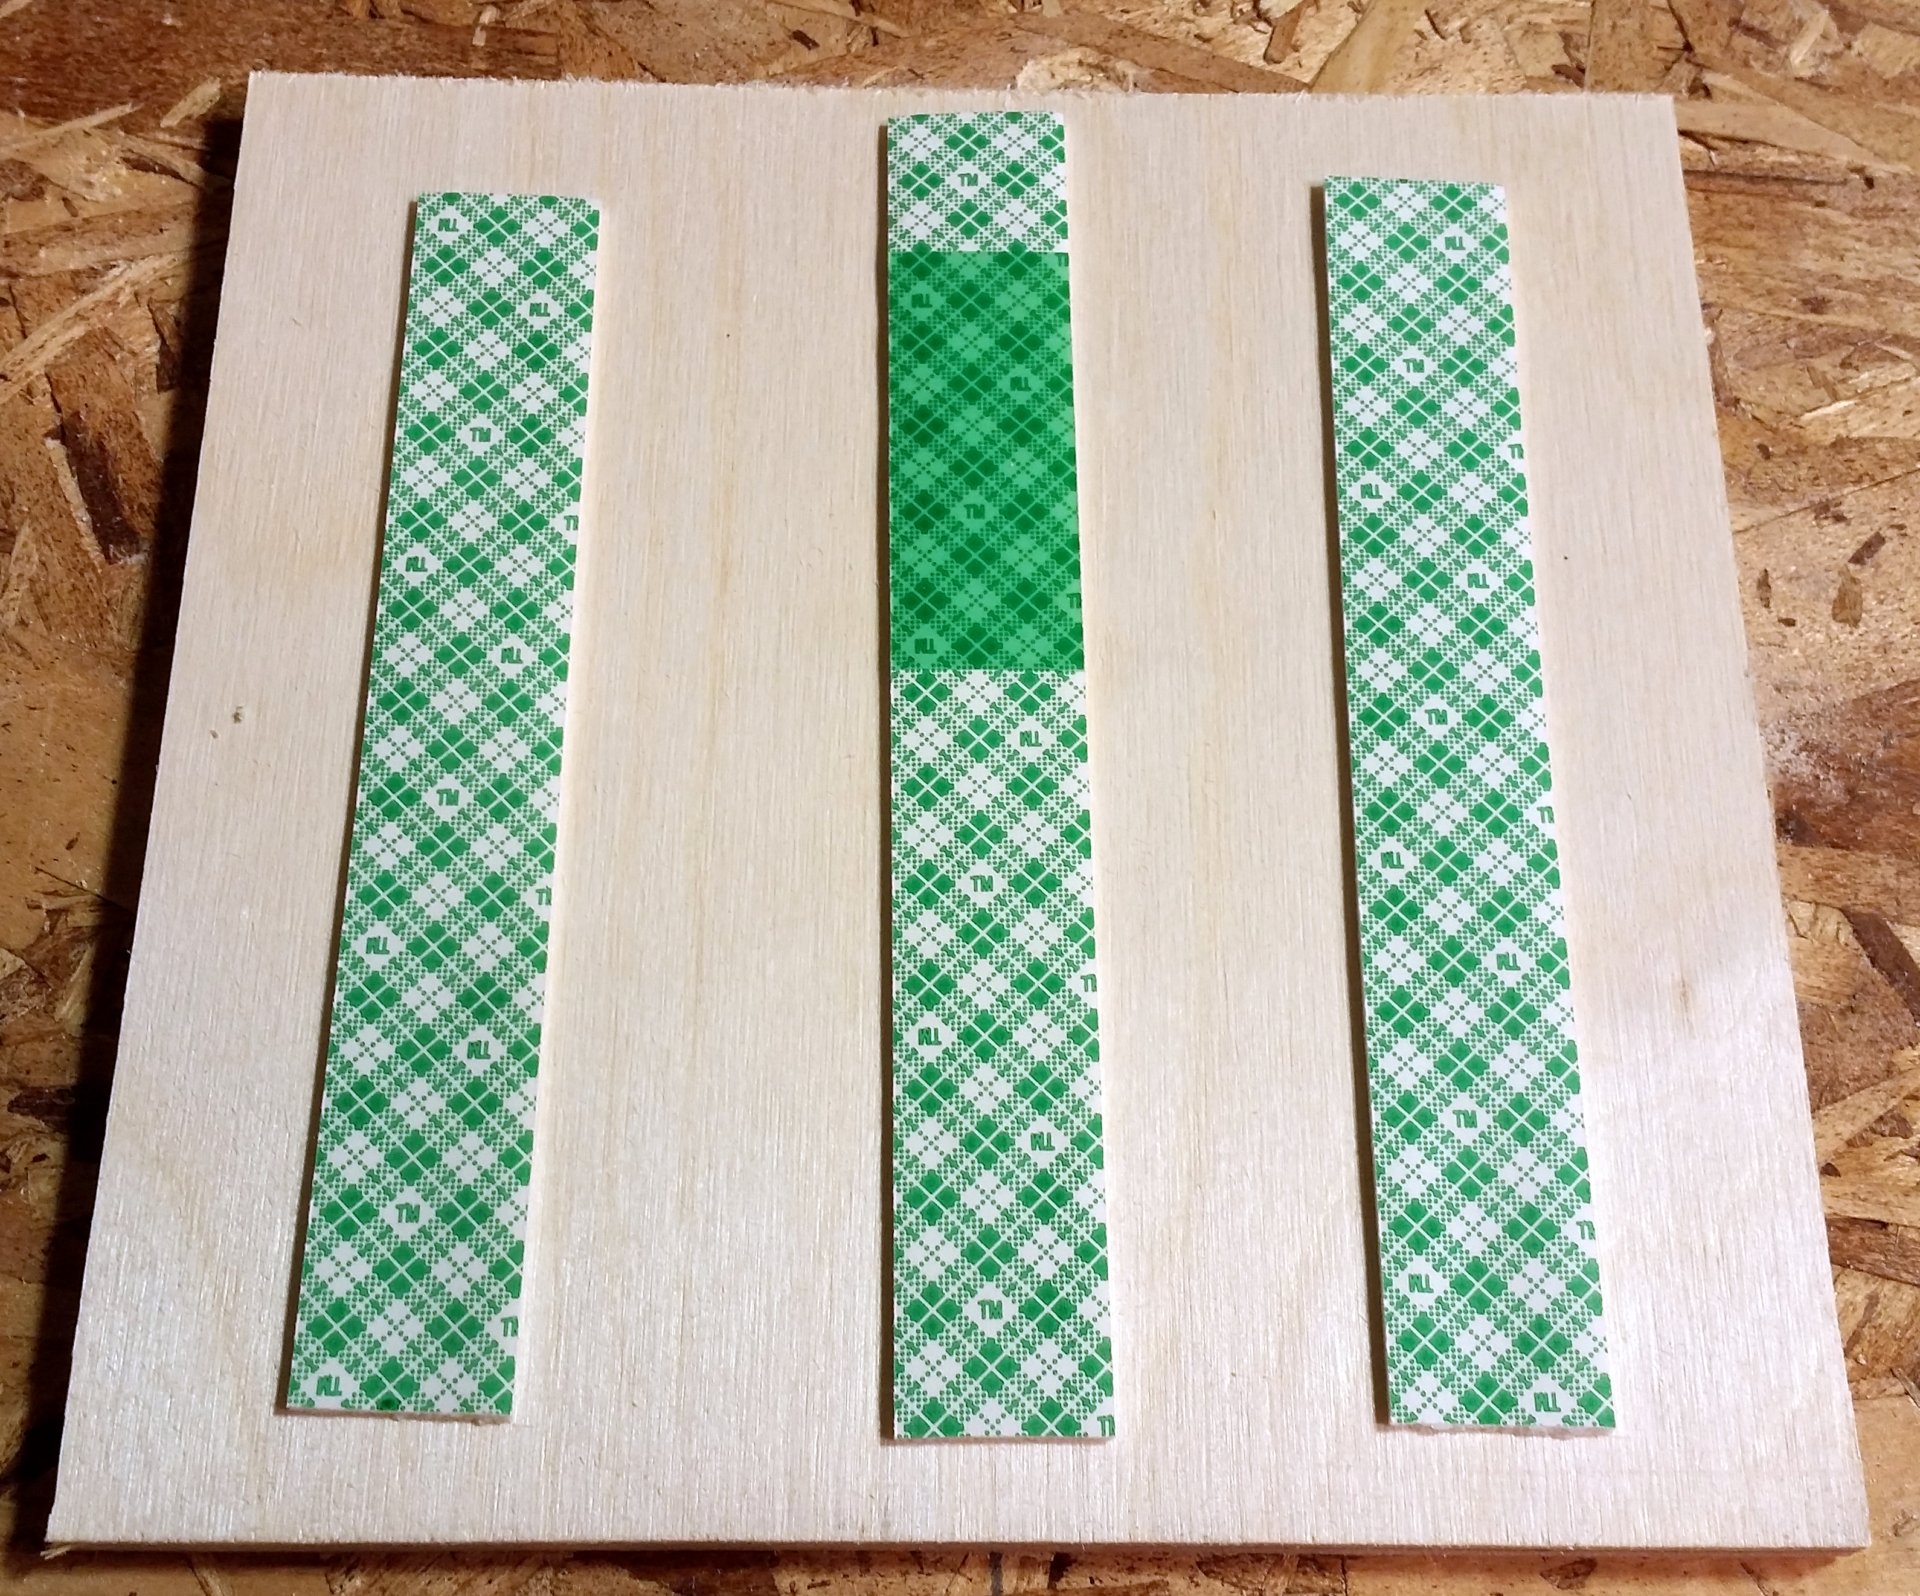
The first challenge is fixing the material to be routed to the waste board. Because of the intricate cuts in the snowflake designs I was attempting, I needed both the inside and the outside of the object to be fairly rigid; too much movement of either component would lead to sloppy cuts. I picked up a variety of double-sided tape products from my Home Depot, notably Carpet Tape, Gorilla Tape and 3M Mounting Tape. Here too there is a fine balance between good adhesion and holding strength versus can you get the stuff off your finished product? With the carpet tape, did it hold the material in place? Yes. Could I remove the remaining pieces from the finished work? Not a chance. The clear Gorilla tape did a decent job of holding and peeling off, but I ended up using nearly the entire roll on one snowflake.
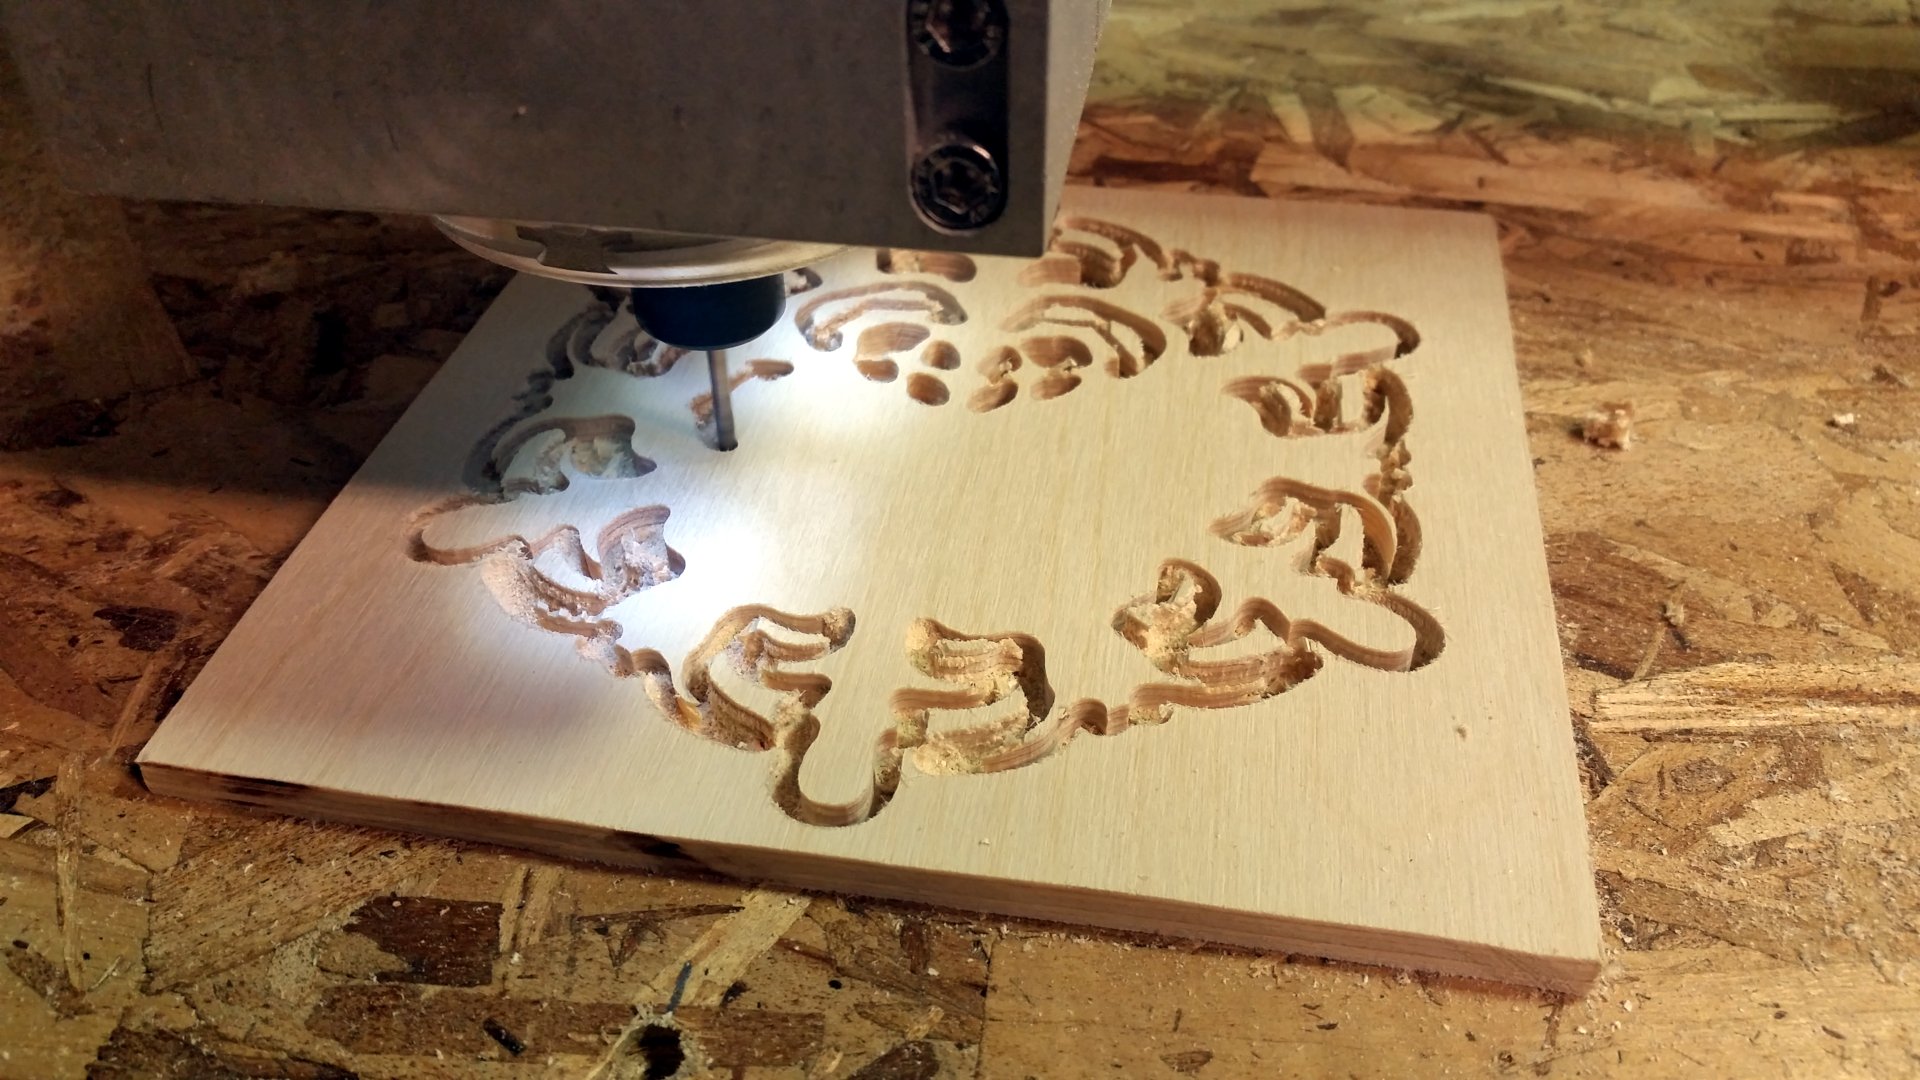
The far and away winner was the 3M Mounting Strips. Good holding strength, easy to remove from finished works, and as an added bonus – because of their thickness – a narrow gap was created between the working material and the waste board, allowing sawdust to clear out below the material being cut as well. This really helped since my end mill employed a downward cutting style. I adjusted the G-Code to cut pretty close to 1 mm below the bottom of the Baltic Plywood so that it did not excessively gouge my scrap piece of waste board.
Watching the Shapeoko 3 work is like watching a fire burn: It is truly mesmerizing. The last hurdle I have to overcome centers on the type of end mill I’ve been using. When I got the Shapeoko 3, we only ordered one end mill with it. On Amazon, that bit cost about $20 for a 1/8″ 2-Flute Spiral Downward Cutter. Despite careful planning and placement of a table clamp on one of my earlier attempts, the router effortlessly carved out the piece I was making – and then on it’s way back to the home position, it pulled the spinning bit across the metal clamp – decisively ending that bit’s cutting career. I had a couple of spare Dremel cutting bits, so decided to see if any of them would work. Early results with thick (5/8″ – 3/4″) plywood were very promising, but the CEL (Cutting Edge Length – see, I’m starting to spricko the lingo!) on those bits was about 26mm if I remember correctly, and so on the 1/4″ Baltic Birch, the bit had so much flex in it that trying to cut the intricate patterns was like trying to write with a pencil whilst gripping it by the eraser: Cuts were sloppy, circles did not completely carve out, and I thought I was going to break the bit. Slowing down the cuts only caused the wood to start burning, while faster cuts produced cleaner edges but less precision.I think one of my Dremel bits got a bit gunked up with some of the adhesive residue, which – combined with the heat from the friction produced some bumps that increased the friction and filled my workshop with smoke. I replaced the bit with a new one and it cleaned up the cuts substantially, but it was evident – this was not the ideal application for these bits.
Since then I’ve ordered a variety of end mills from my favorite online wholesaler Aliexpress, and once they arrive I have many more projects and cuts to attempt.
While not specifically Venturii-related, I am hoping to use the router to build several enclosures and housings, perhaps even some control panel and user interfaces for Venturii and Venturii devices. That is my loose tie-in, and excuse for posting this project here. 🙂 Actually I’m envisioning a number of button / switch / LCD Display panels made out of wood and/or Acrylic that would be appropriately located near relevant data sources. More on that later!


