We received a lot of rain this weekend, and all of my rain barrels are now full up. I know this because I’ve gone to them and looked, but the next logical step in this project is to find out a way to measure their contents electronically. To date I’ve tried three methods:
Method 1: Float Switches.
Definitely the simplest approach, a float switch is a device that has a mechanism made of a buoyant material, that when it rises with the water a switch is activated. Float switches provide binary data about the contents of the barrel. If they are off, the assumption is that the water level is below the position of the sensor; if they are on, it can be assumed that the water level is above the position of the float sensor in the barrel. Float sensors are great for telling you if a tank is full or empty, but you really get no feedback for everything in-between.
Sometimes this is all you need. In order to collect more rain water whenever it rains, I’ve set up buckets underneath each of the two downspouts on the house. Because our land is on a slope, one of these collection buckets naturally sits higher than the other. Therefore, I simply ran a 3/4″ poly from the higher of the two, and allow gravity to carry water from it down to the other bucket at a lower elevation.
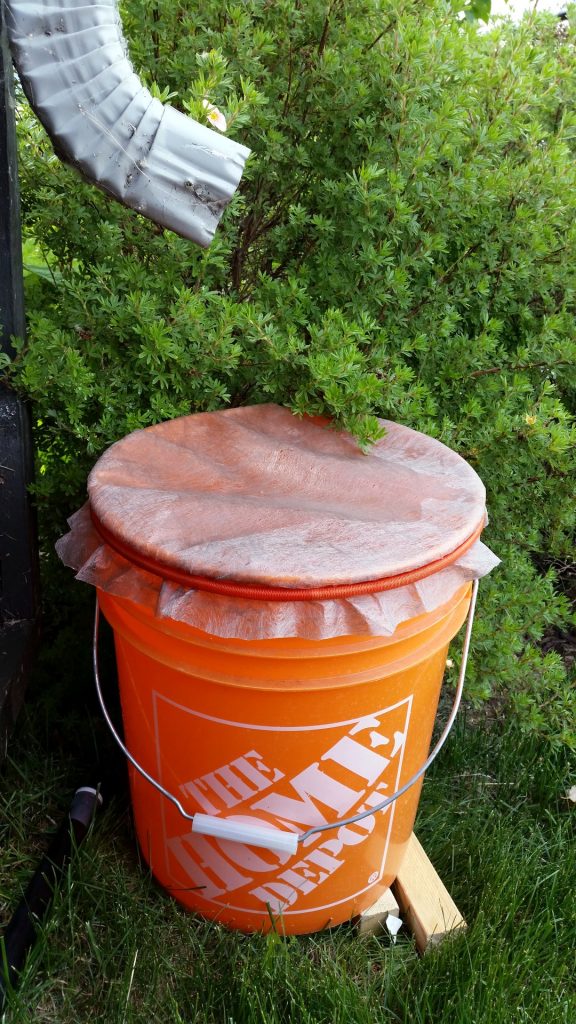
Rain Water Collection Bucket Underneath a Downspout With Poly Transfer Pipe Threaded Into Bottom
The black poly pipe seen at the left of the bucket is threaded into the bottom of the bucket, so that any water that it collects travels down the poly pipe towards a lower bucket. Unless it is REALLY pouring continuously, the poly should be able to handle most of the rain water that lands in this bucket with the help of nothing but natural forces.
The water from the upper collection bucket runs down hill through the poly pipe until it reaches the lower of the two collection buckets. A gentle bend in the pipe raises it up to the top of the second five gallon bucket where the water pours into the lower bucket. This gentle slope in the pipe has an added benefit: Because the water is gravity-fed, it is fairly slow-moving. The slope allows much of the sediment that passes through the strainer atop the collection bucket to remain in the pipe, so only clear, clean water comes out the other end. After every major rainfall I have to tilt the pipe down into the swill and allow the crud to wash out of it, but this simple gravity-based filter is surprisingly effective.
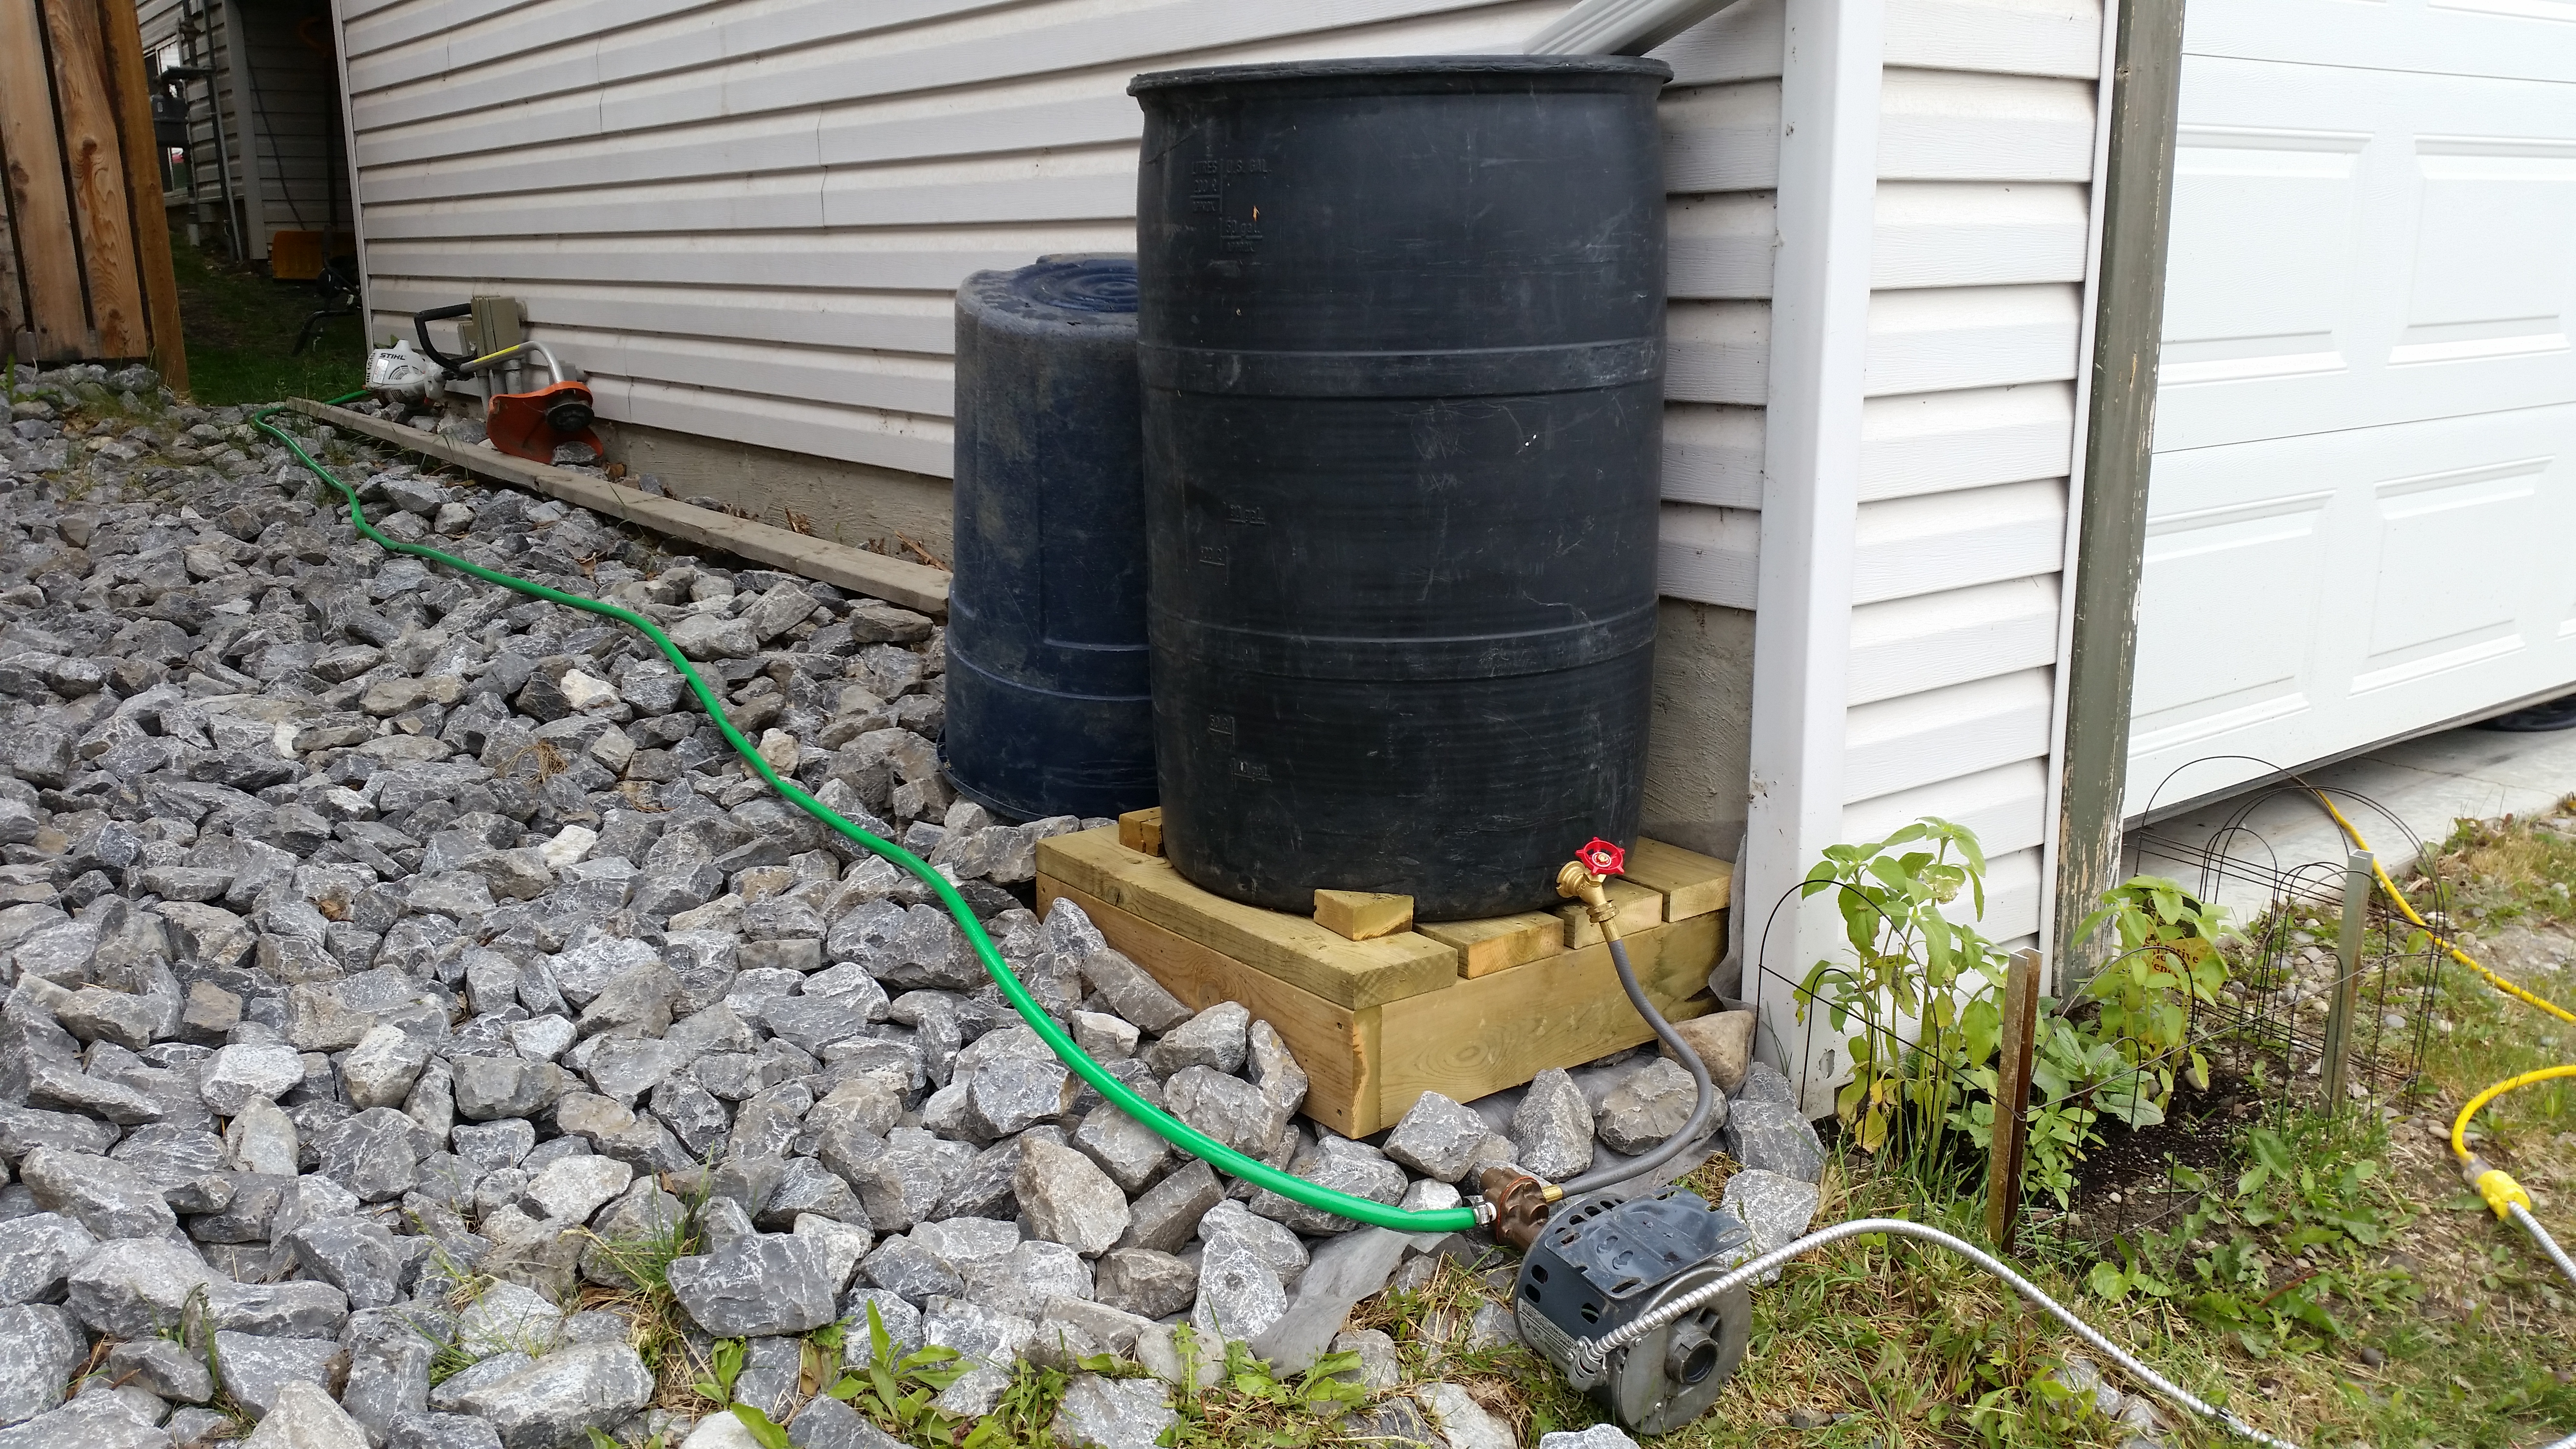
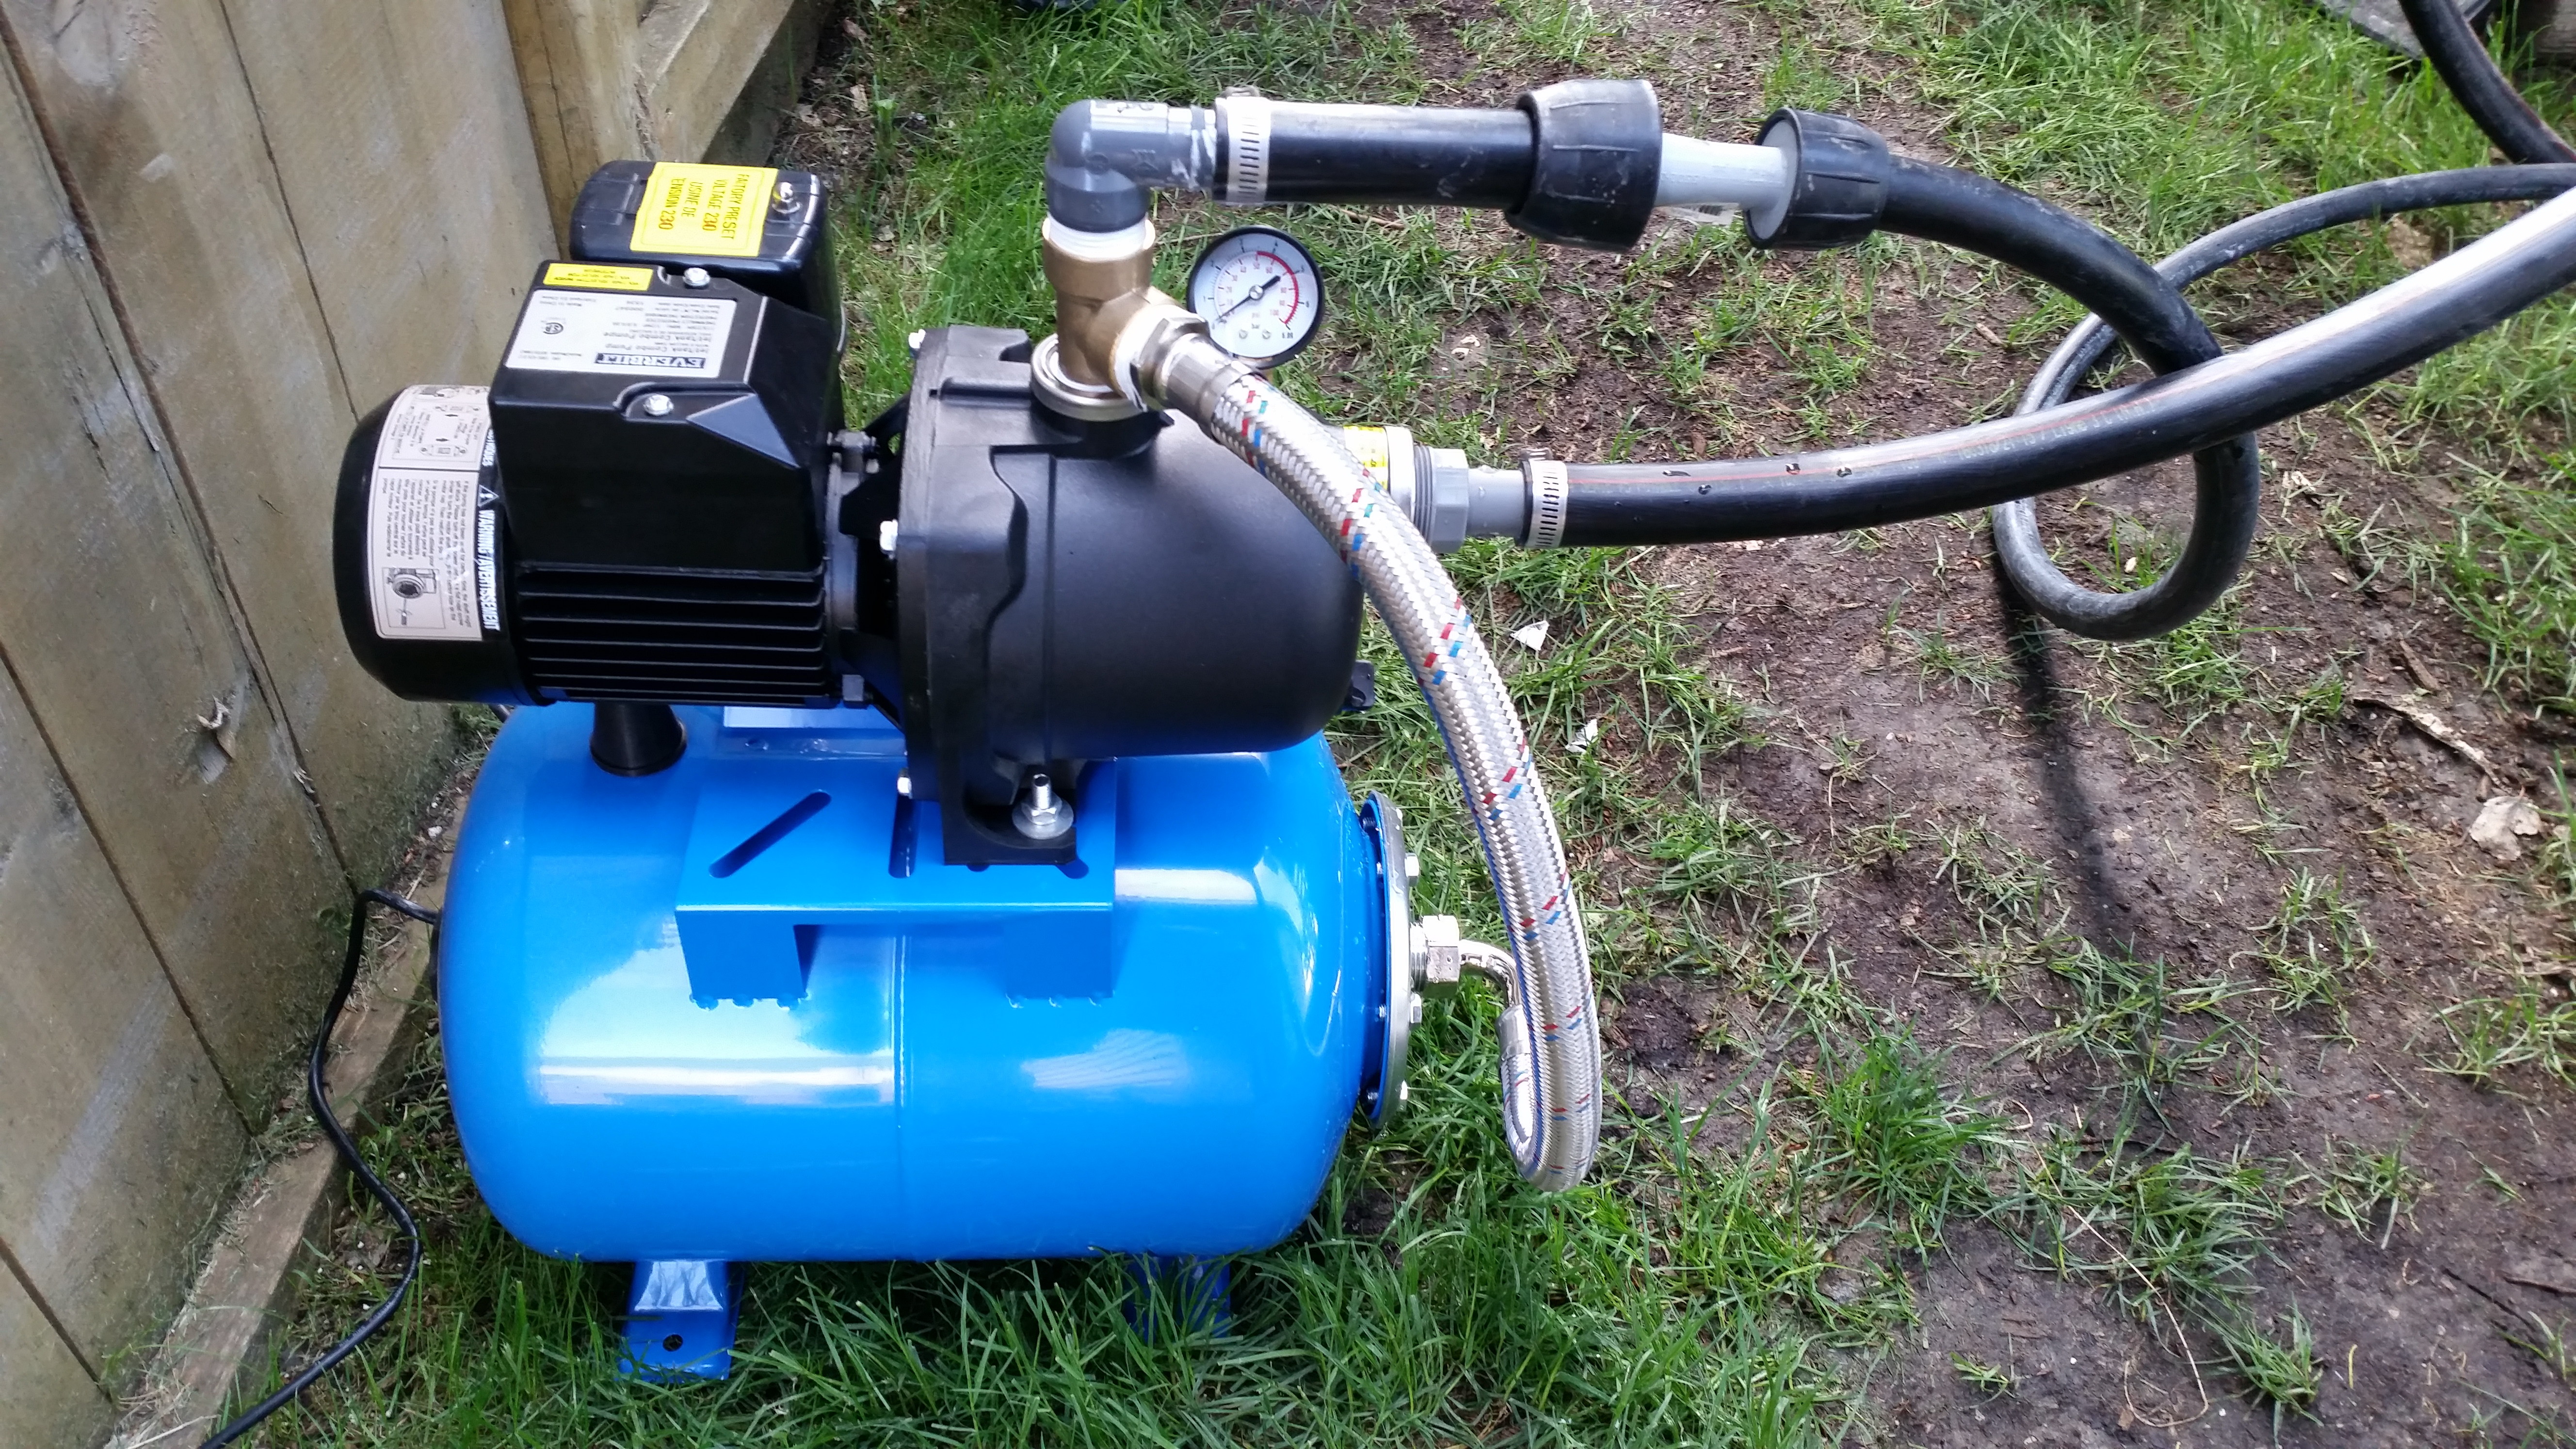
The second collection bucket is placed beneath the other downspout on the house, so water from both downspouts ends up in the same bucket. Inside this lower bucket I installed a small utility pump, the output of which is directed into my barrel farm.
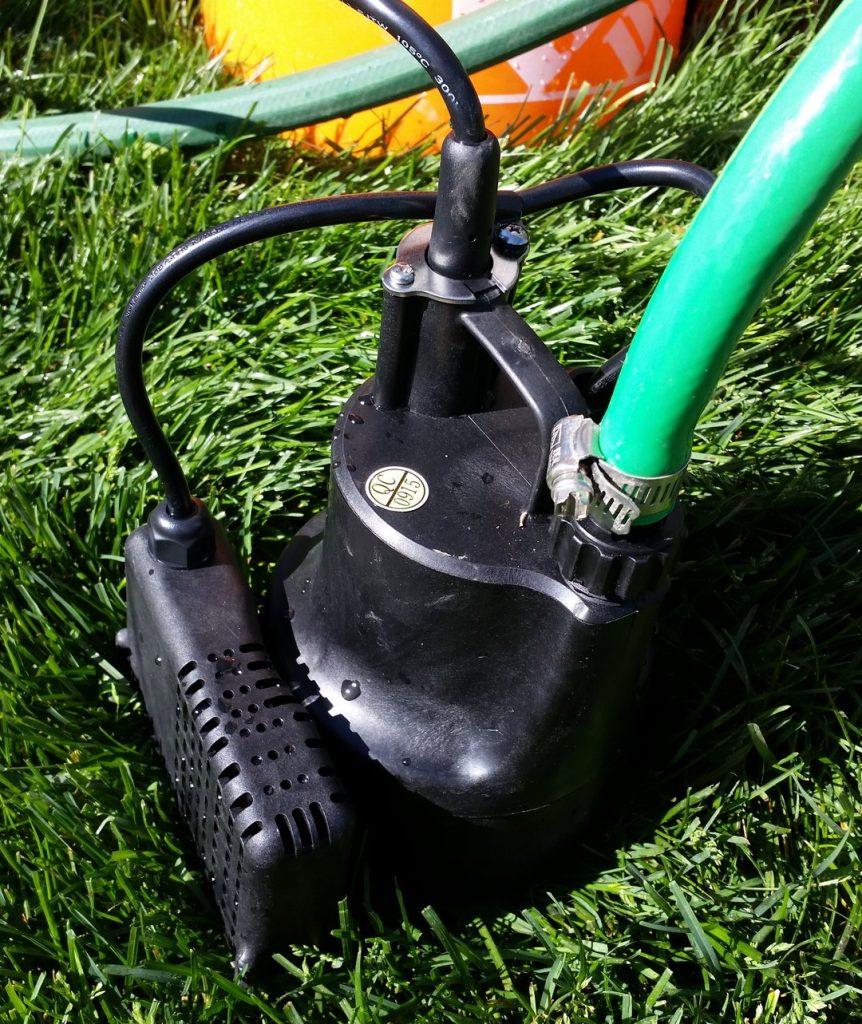
I bought a small utility pump to act as a lift pump, moving water from a rainwater collection bucket beneath a downspout to my barrel farm.
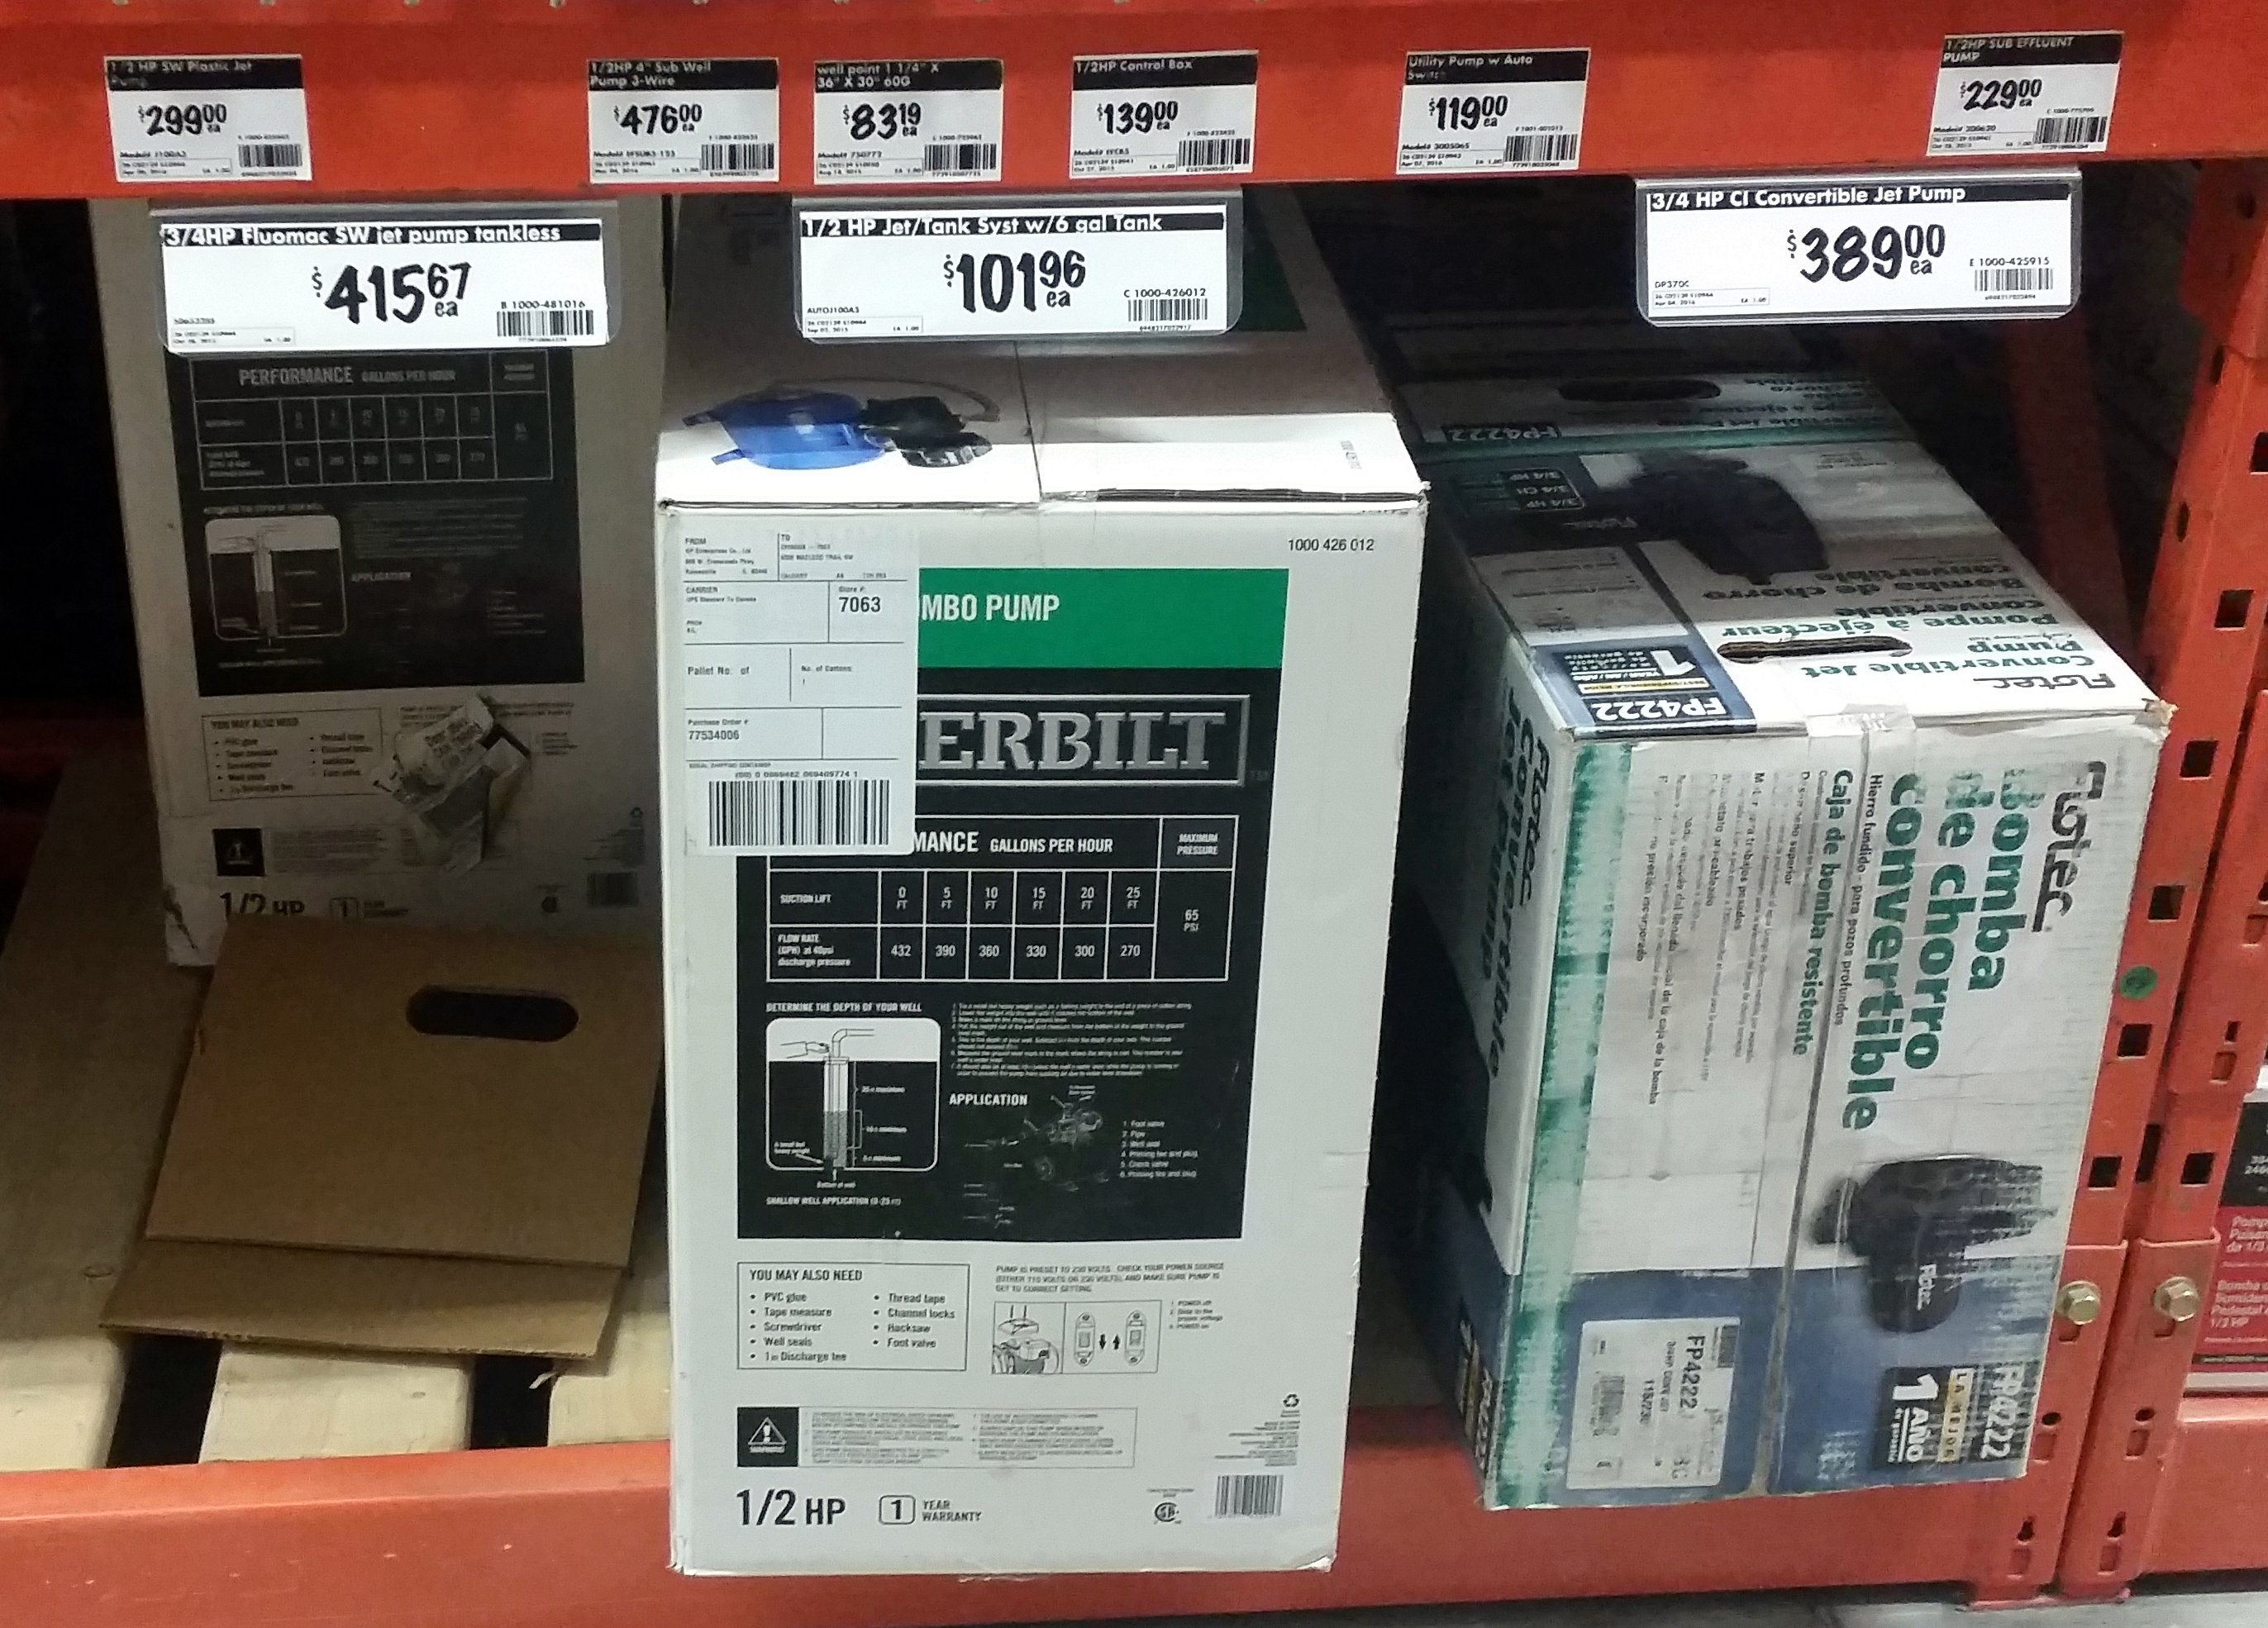
Inside a five-gallon bucket, I thought this little guy would be perfect for transferring water whenever it rained into the barrels. The bucket was too small for a normal-sized sump pump with an external float, so when I saw this model with a built in, enclosed float for $110, I thought that would be perfect. And it was, almost. Concealed within the plastic housing is not only a float switch and the starting capacitor for the motor, but also a small logic circuit that causes the pump to continue to run after the float has dropped for about 60 seconds to ensure that all the remaining water has been sucked up. Not only that, but the float turns the motor on with only an inch of water present. What I quickly observed was that when it rained, the pump would turn on quickly, blurt out the inch of water from the bottom of the bucket, and then sit there and hum-suck for another minute. If any of the house windows were open on that side of the building, the noise could be easily heard inside and was very distracting. A more intelligent control system was needed. Enter: Dual Float Switches.

Two Float Switches Mounted On a Section of Vinyl Siding End Cap. The length of the vinyl and placement of the switches was engineered so that one switch gives a signal when the bucket is full of water and the other gives a signal when the bucket is almost empty.
I used a piece of vinyl siding material to create a “stick” with two float sensors strategically located thereupon: One sensor was placed so that it would trigger when water had reached the top of the bucket indicating that the bucket was full, and the other was placed near the bottom so that Venturii would get a signal when the water level had dropped low enough to turn the pump off without causing it to draw in air and start to cavitate. These two sensors would provide a hysteresis loop that would maximize the efficiency of the pump without wasting electricity trying to scrape up the last few milliliters from the bottom of the bucket.
Since I could no longer leave the pump plugged in directly, I expanded the Venturii VDAC Controller under the back deck and added four 12 VDC Wet outputs to drive power relays and 8 Digital Inputs to read the float switches from these and future sensors.
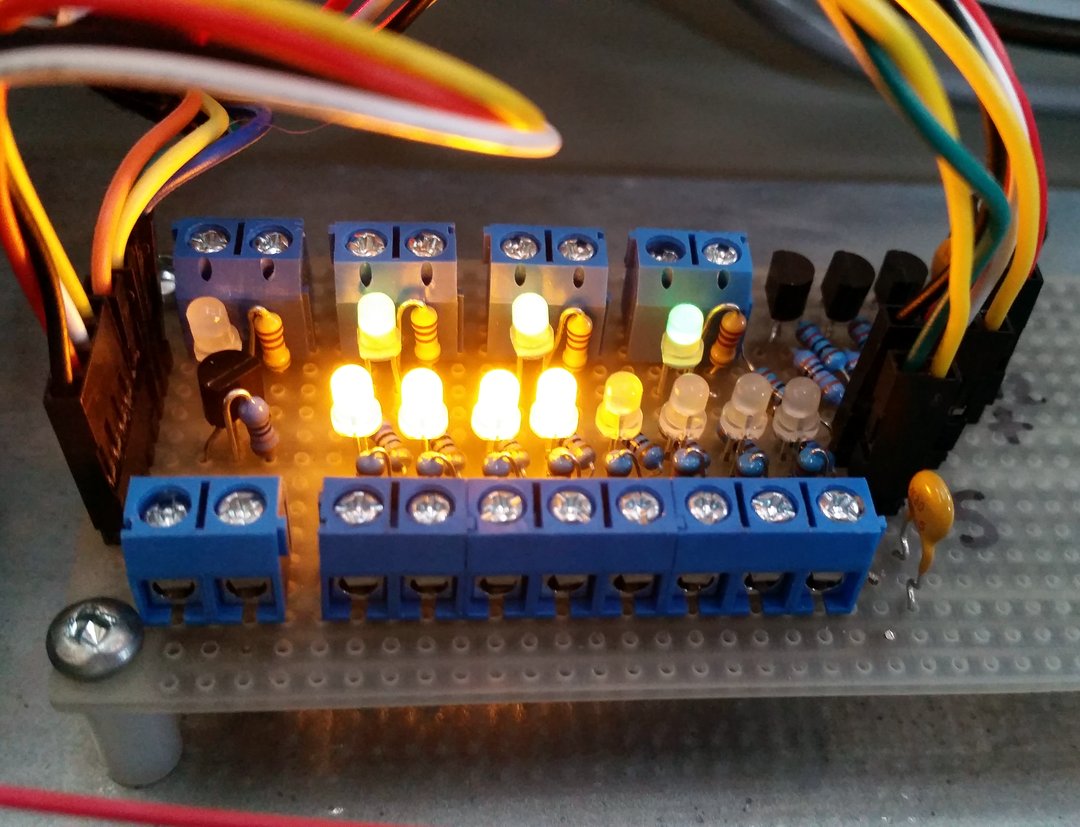
Venturii VDAC Expansion Breadboard with 4 12VDC Wet Outputs and 8 Digital Inputs
You can’t really tell but the output LEDs are green and the input LEDs are yellow. They all kind of wash out to a yellow-ish glow by the image sensor of my phone. After installing a number of ice cube relays to control the Jet Pump’s and now the Lift Pump’s 120V AC Power, I was ready to test the pump again with it’s new feedback sensors:
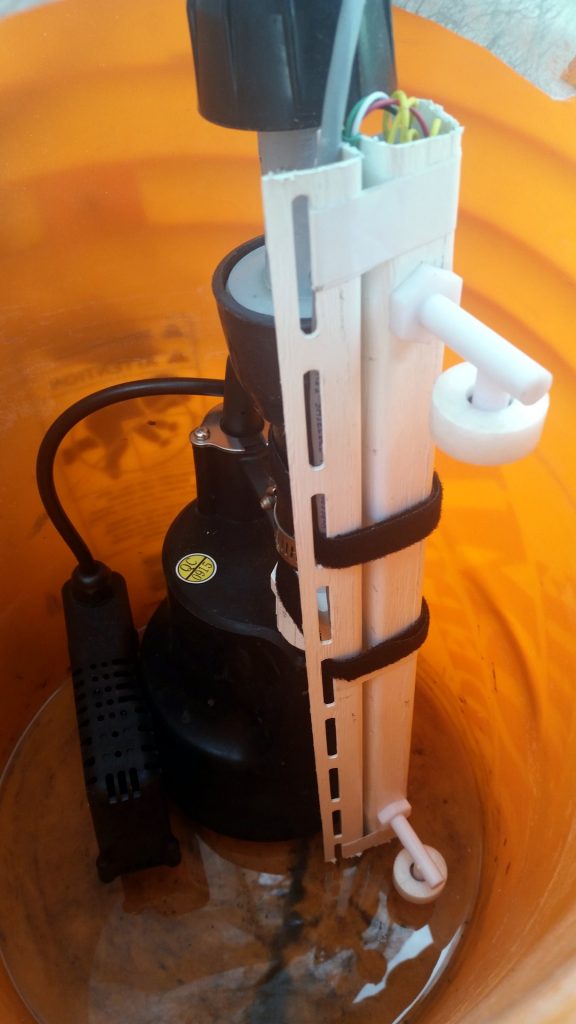
Float Sensors Attached To Sump Utility Pump
This worked very well during the first few garden hose tests. The pump did nothing until the bucket was full of water, then kicked on, quickly drained the five gallons into the rain barrel farm, and shut off before starting to suck in air. It was almost silent in doing so, and ran for considerably less time per cycle. I was very excited and thought this project was complete until it rained one night and excitedly I checked my logs and graphs the next morning. I discovered that it had pumped out a few buckets full of water, but then noticed that my other rain barrel was completely full. Clearly it had rained a LOT that night, but my rain barrel farm was still only half full. I went and looked at the bucket only to find that it was full of water but not pumping. I gave the bucket a bump with my knee and the pump jumped to life, emptied and then shut off. It turned out the floats needed a slight adjustment, so I re-worked the apparatus and tested again on the next rain fall, this time successfully.

Method Two for measuring water in a container is by using sound. See my article on measuring Salt with Sound for the specifics, and while this method works well for salt, with water there is so much echo and stray feedback, I’ve found the results largely un-usable.
Method Three: Differential Pressure Sensor.
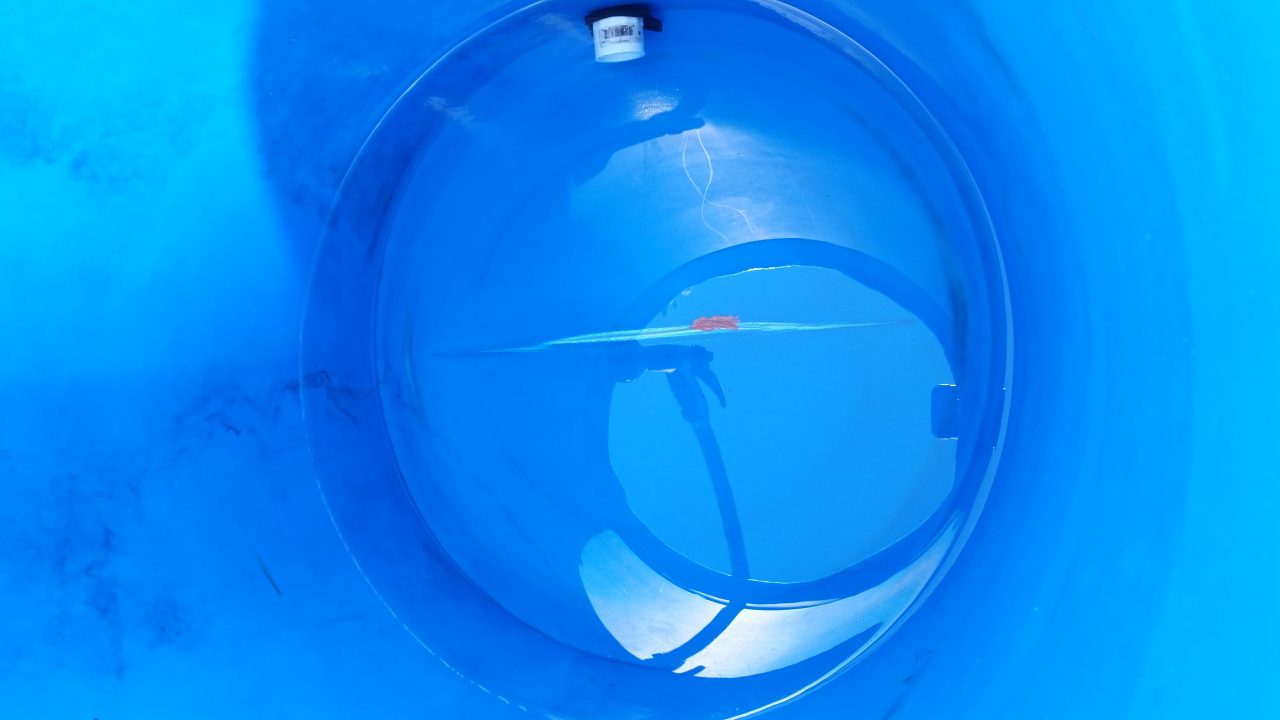
This was an idea I had several years ago, bought the sensors for it and they’ve since sat in a shoe box on a shelf in my garage until now. The basic theory of operation is that you place a tube into the container so that it’s opening is as close to the bottom as possible, and measure the pressure at the other end with a sensitive pressure sensor. When water is placed into the container, it compresses the air inside the tube, increasing the pressure. The more water that is added to the container, the more air that is displaced and therefore the greater the pressure inside the tube. When water is drained out of the container, the pressure is relieved. By measuring the pressure and applying some mathematics to the result, one should be able to determine fairly accurately how full the container is.
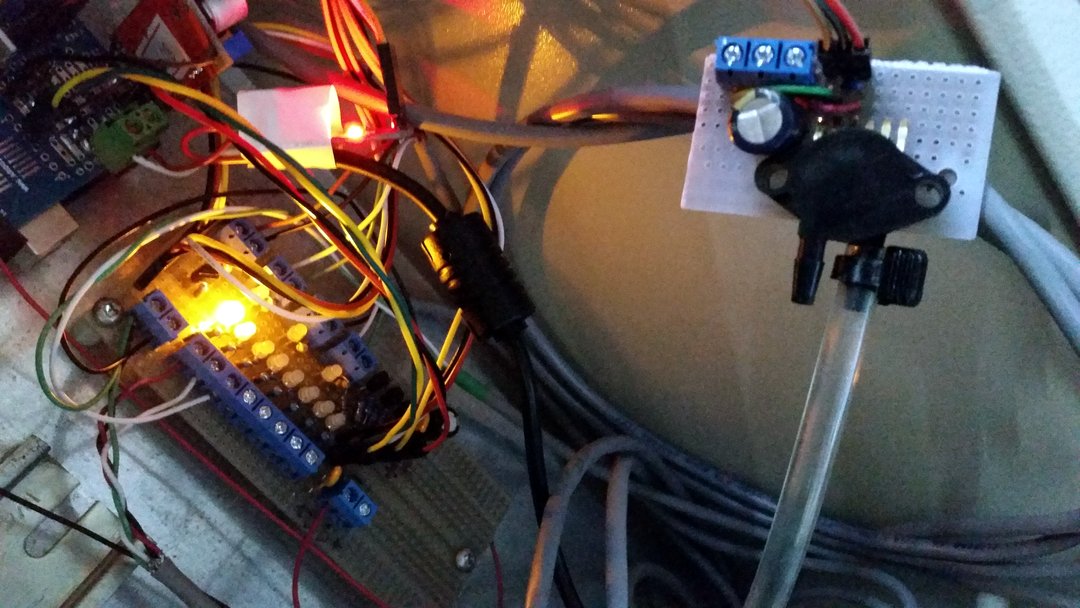
MXP5010DP Differential Pressure Sensor on a Breadboard Connected to a Venturii VDAC for measuring the water level in my rain barrel farm.
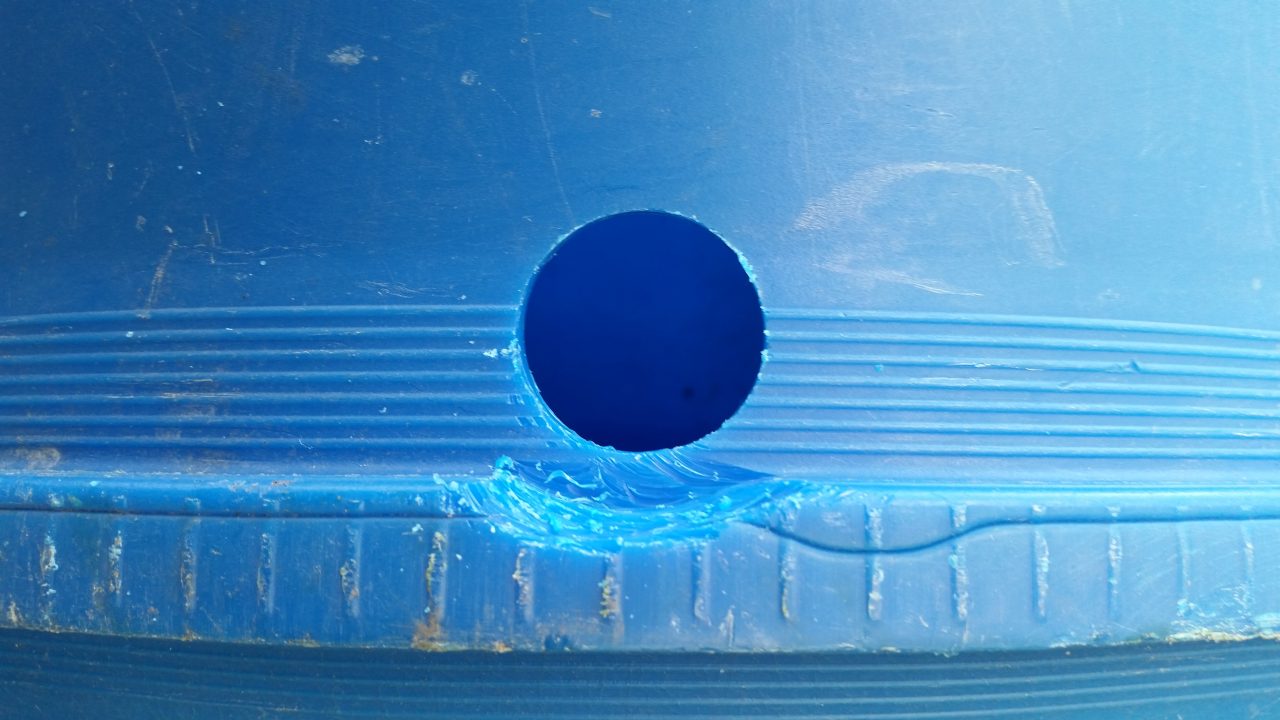
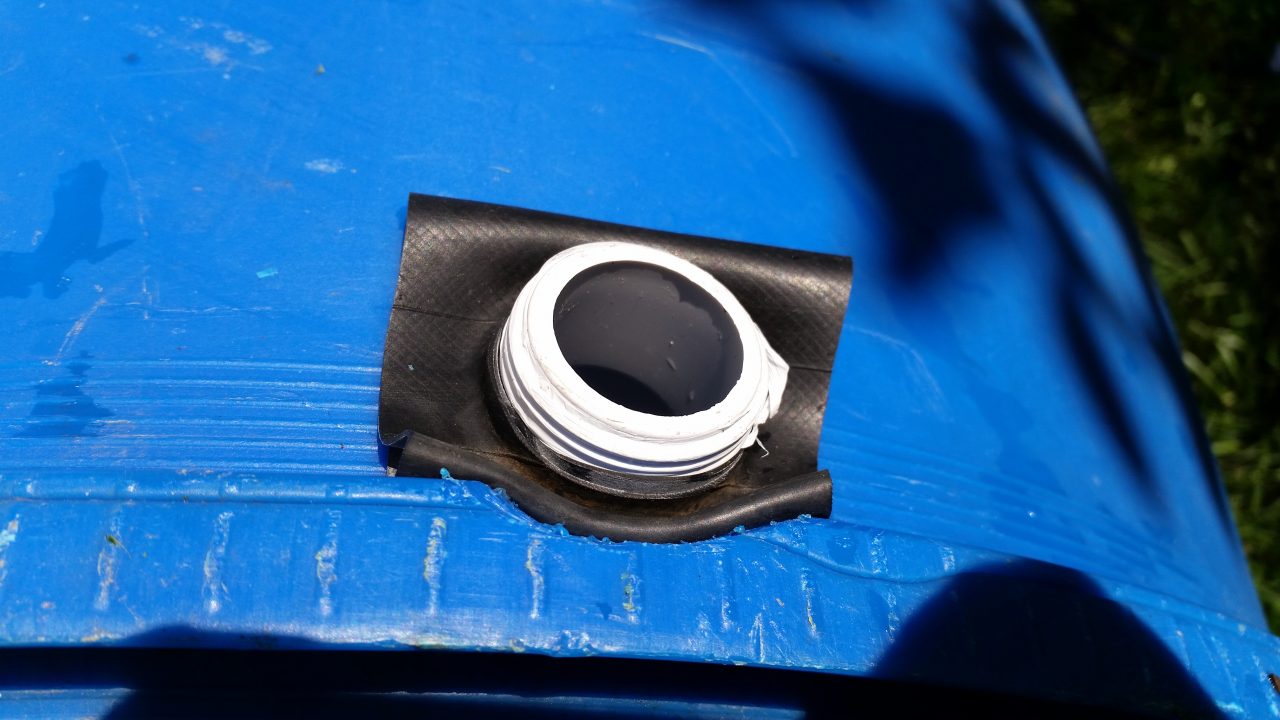
The wires are a bit of a mess, but you can see in the foreground the MPX5010DP sensor on a small breadboard with a clear tube attached to it. I used a drip irrigation clamp to try to ensure there would be no leakage at this end of the tube, and the other end is submerged into the bottom of the barrel with the help of a section of copper pipe:
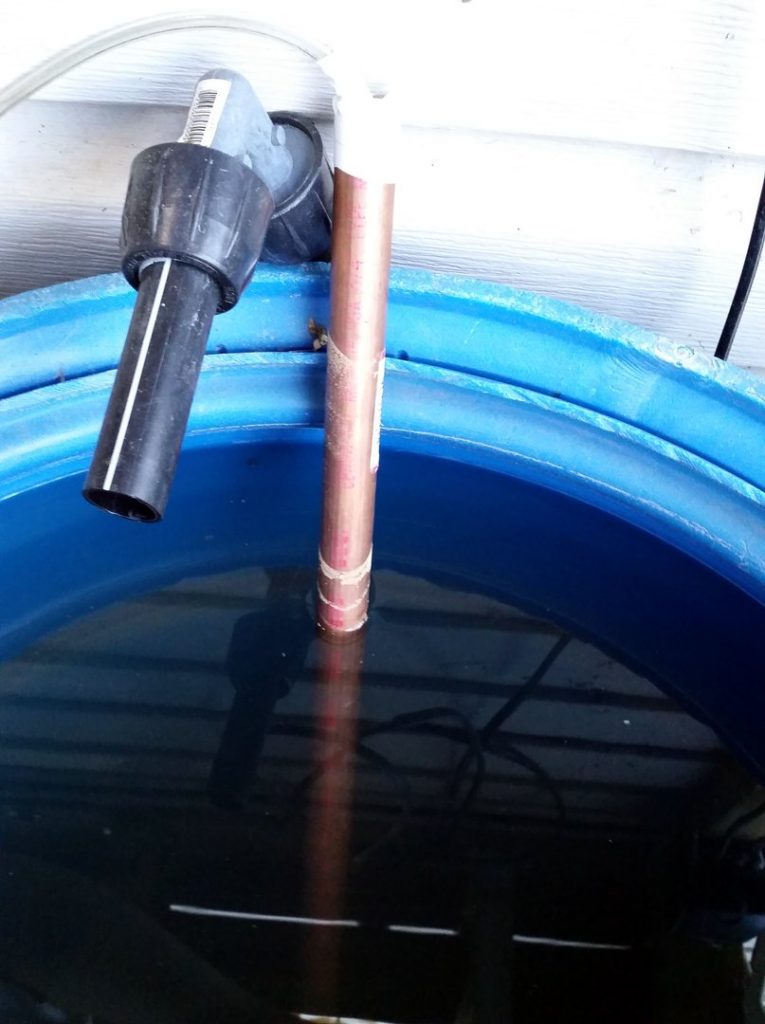
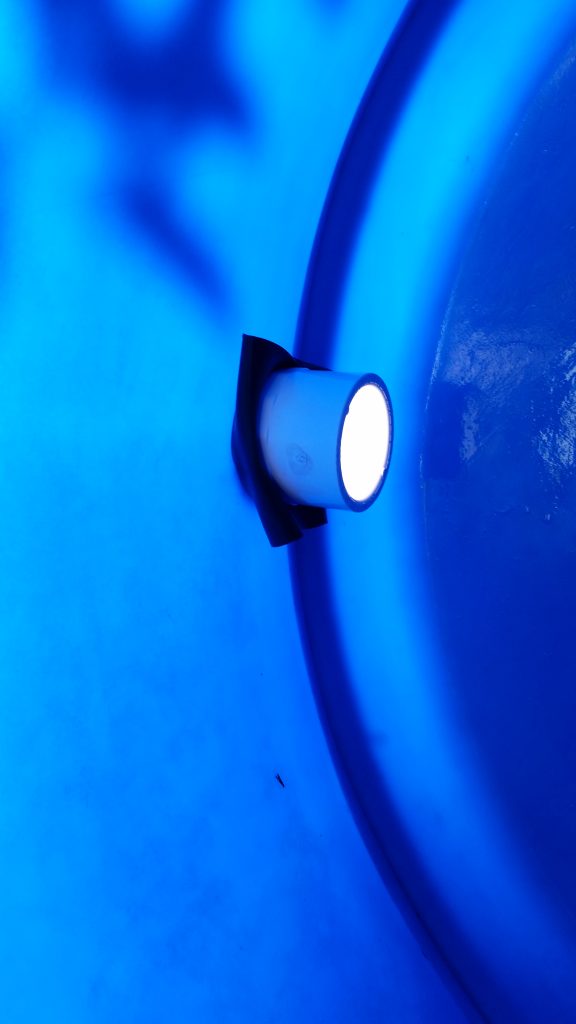
Air Pressure Tube Sheathed Inside 3/4″ Copper Pipe
The copper pipe helps ensure that the tube remains straight and positioned at the bottom of the barrel. I’ve placed it on an angle to attempt to increase the amount of air that is displaced, giving higher resolution of the barrel contents. So far, with the water level near the top, the 10-bit analog input reads about 570 out of 1024, dropping to about 45 when the tube is removed from the water. Assuming a range of (570-45) 525 units to measure a 45 gallon barrel of water, this would give us almost 0.20% increments.
So far in the real world, I’ve discovered some variances throughout the day. I’m not yet sure how much ambient temperature and the excess tubing in my proof-of-concept apparatus is altering the results. The volume that is reported appears to change over the course of the day, despite the water level (supposedly) remaining constant. I was pleased to notice that when I run the Jet Pump, it is very obvious to see the effect on the water level reading, and whenever the lift pump transfers water into the barrel farm, the level rises quickly in the first barrel where the water is dumped and the level sensor is submerged, but then settles out as the water balances between all 5 of the barrels currently connected together. Time will tell how accurate this method is over the long haul. One thing I’m not sure about is how much escape there is through the MPX5010DP sensor itself – if it leaks air, the pressure inside the tube will decrease, indicating less water is present than there really is. Time will tell if this is the case, but so far this method appears to be the most detailed, and perhaps even the simplest. Is it the most reliable though? I will let you know what I find.