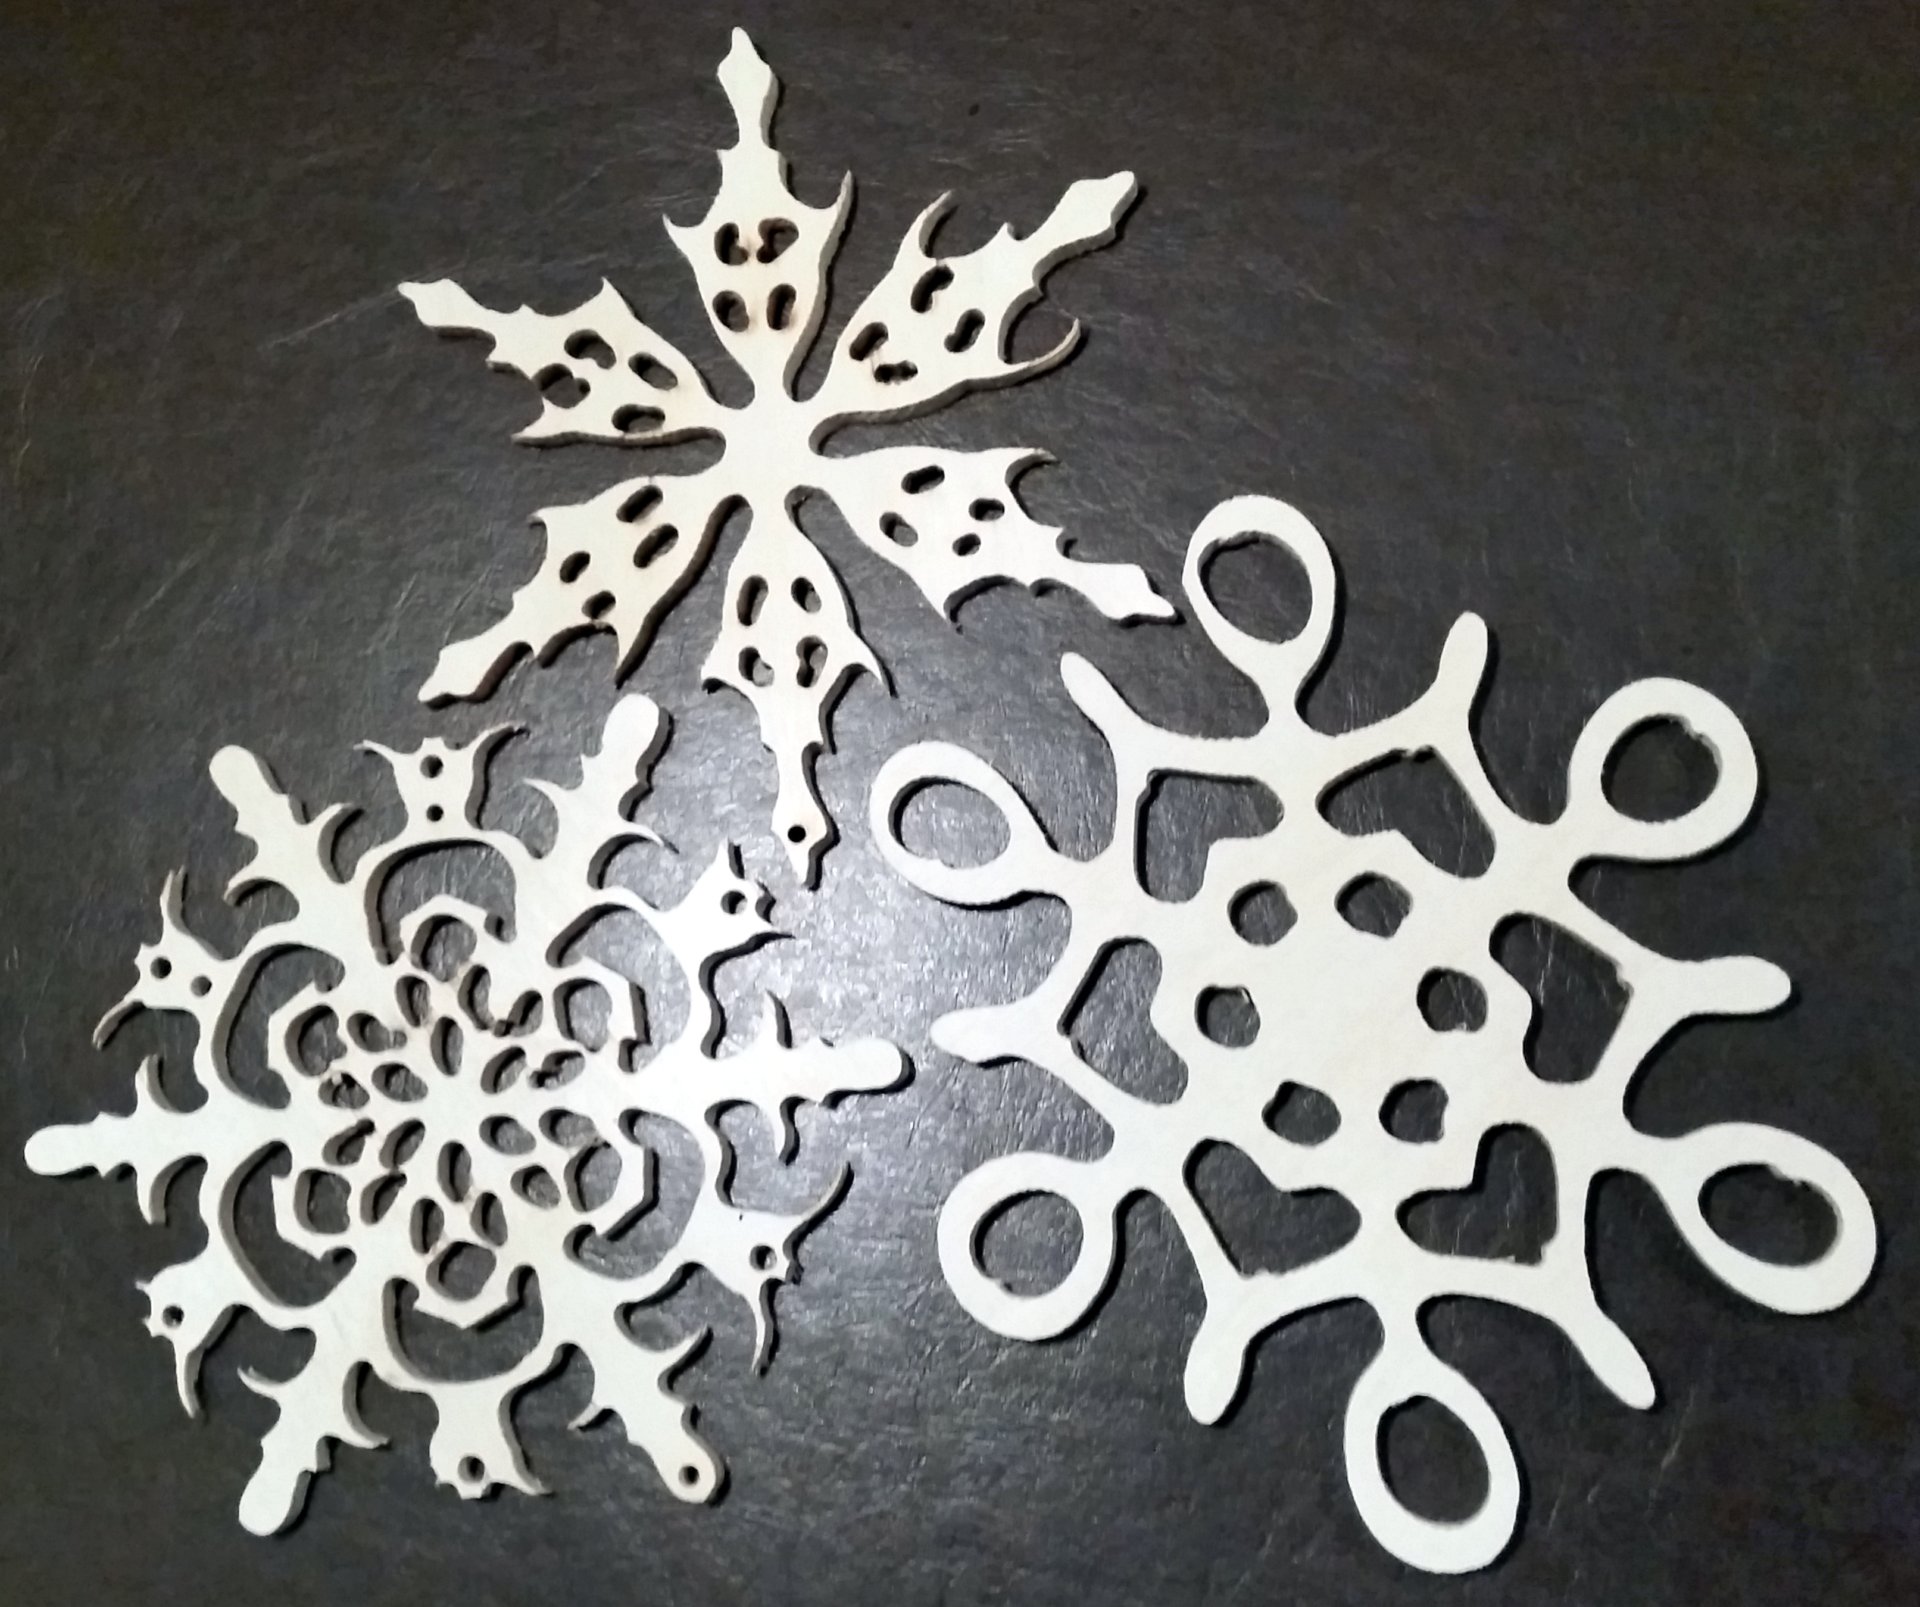
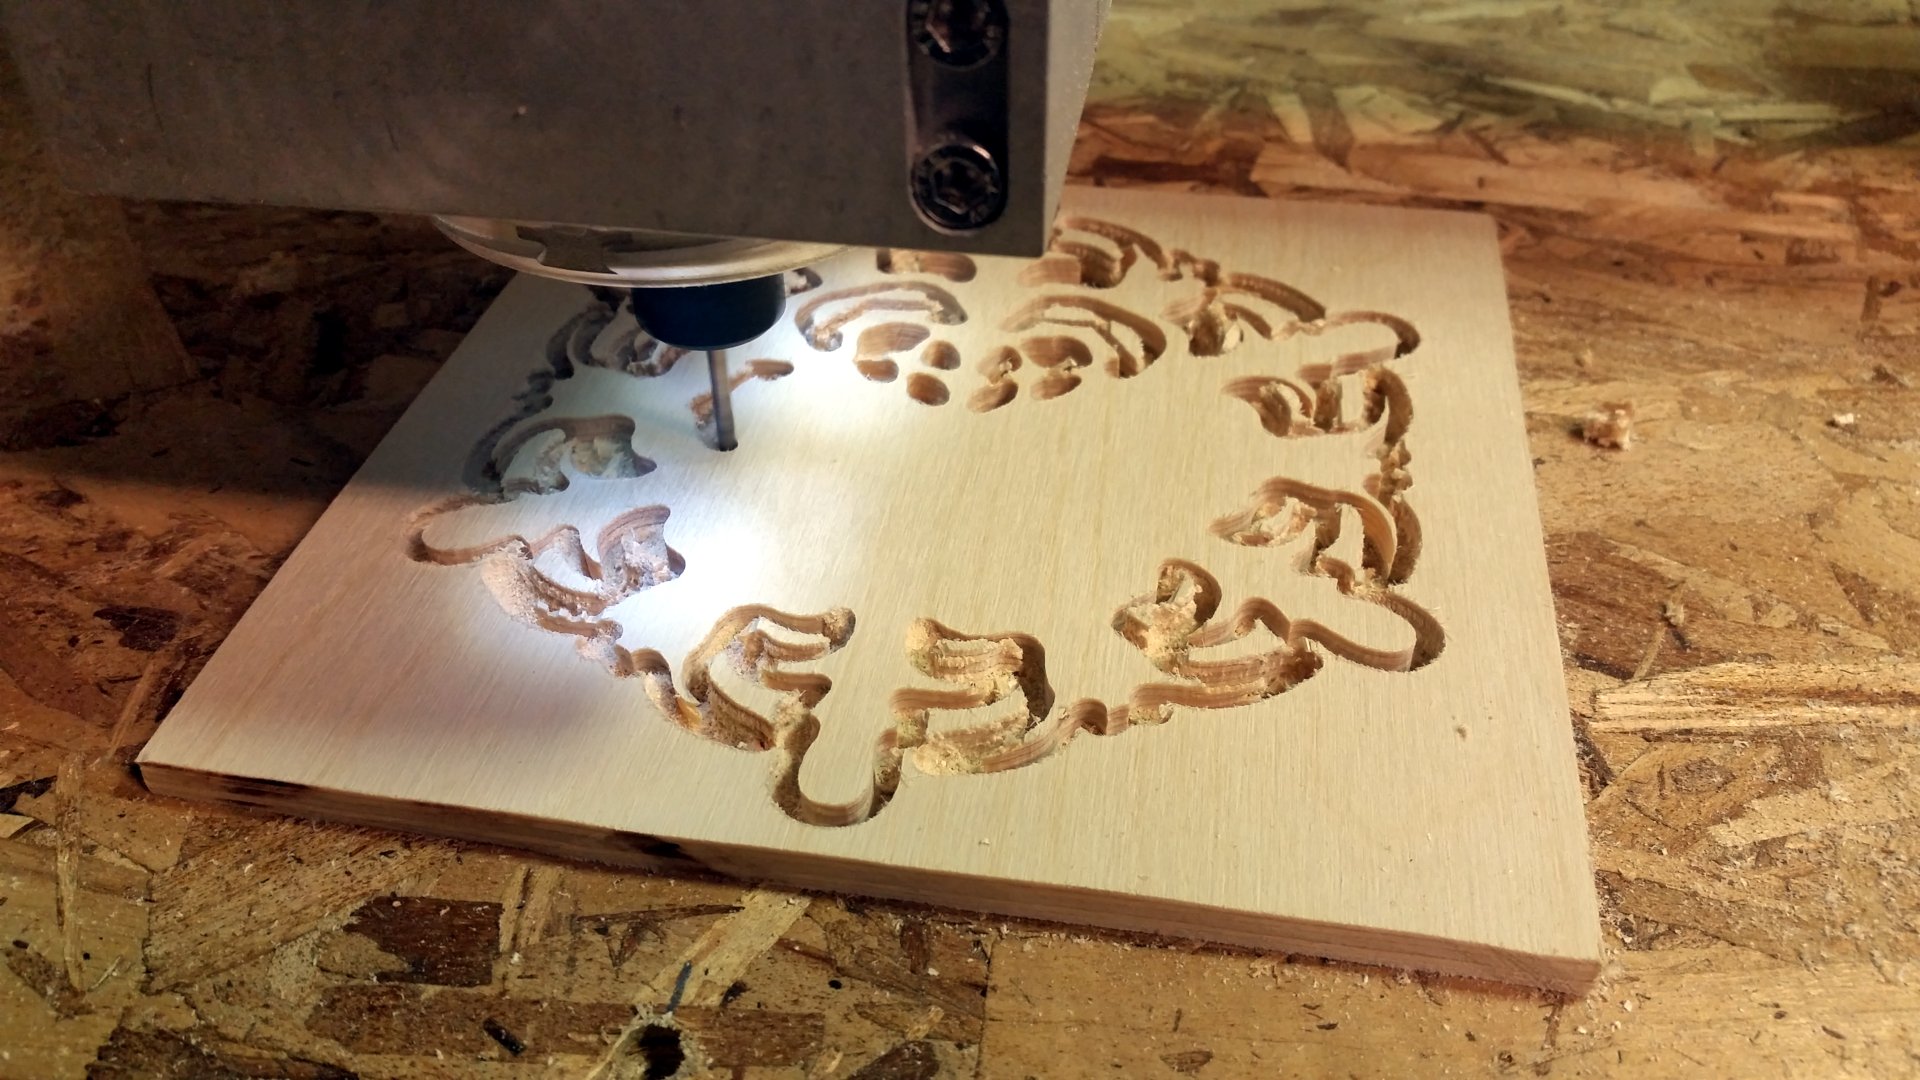
Anyone who knows me is aware of my affinity towards Linux and Open Source software (and hardware!) Now that Metal Minds Inc. has a 3D printer, a laser cutter and a CNC mill (Shapeoko 3), I have been challenging myself and learning how to design 3D objects, experimenting with translating those ideas into both laser-cut and mill-cut physical objects. The 3D Printer is at Mark’s house so I don’t get to play with it [ever.] However, I’ve been doing a lot of work on tuning the laser of late, the most recent task to tackle has been figuring out how to get it to engrave an image onto an object.
At the moment, both machines came with Windows-based software to get them to do their thing. This, of course, requires the Windows operating system – a stranger to my house. The laser came with a small Windows desktop PC so that was no issue, and I’ve set up a virtual Windows 7 machine on my laptop, but I’d really like to break away from the constraint of having to use dedicated computers for this single task. Mark has been advocating using Raspberry Pi’s to drive each machine, since all the heavy lifting is done on the design / G-Code generation side and the computer driving the cutting device is merely reading text-based instructions to it. “Go here, cut this, move there, etc.” To investigate the possibility of moving away from Windows for this task, I’ve been dabbling in a number of free, Open Source tools such as Inkscape and EMC2.
Ever since my first 286 running Corel Draw, I have had a hard time trying to grasp the manipulators of vector-based graphics. Immersing myself in it recently, I’ve started to understand the tools a lot more, and even begun to wield them to my will. It was probably the limited amount of time spent using them and the large quantities of time in-between attempts that restricted my progress on the matter, as now that I’ve been spending hours a night trying to get the wire meshes and node handles to make the lines go where I want them to, results are starting to form.
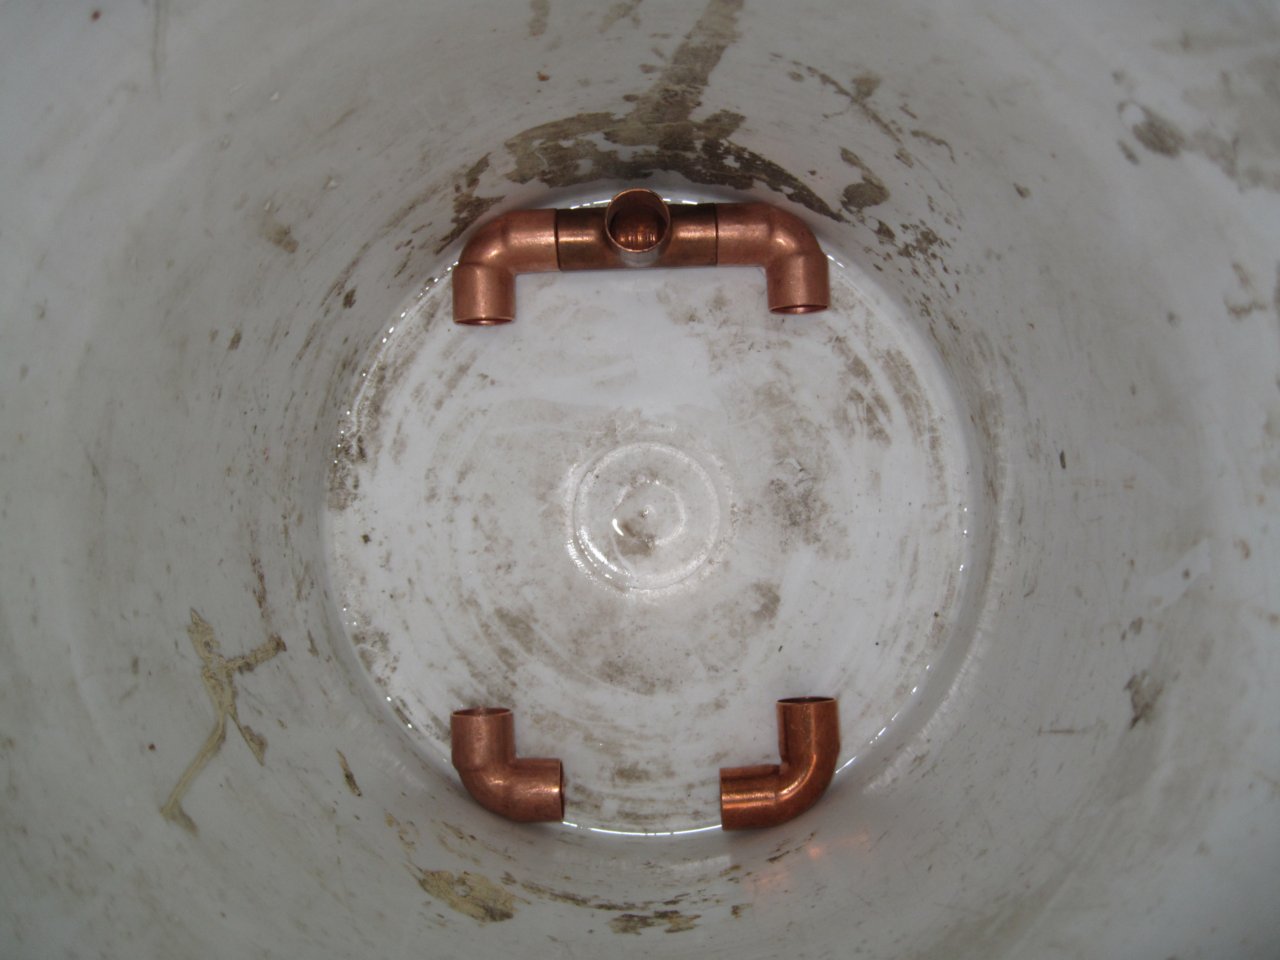
The next step is to get the software to talk to the hardware. The Shapeoko shouldn’t be much of a problem as there is a post on their web site showing all the settings you need to enter in order to make it work with the Linux CNC project. I doubt the laser will be much of a problem either, but it connects to the computer via a good old-fashioned parallel port. My laptop certainly doesn’t have such a thing on it, but I’m sure you must be able to get USB – Parallel Port adapters. I took the laser apart a few weeks ago after it started having some problems with one of the axis’s, the Y stepper motor was grinding inside it’s housing. I took it apart, reset the bearing and checked all the clearances. After re-assembling everything, the gantry moved much smoother than it ever did before.
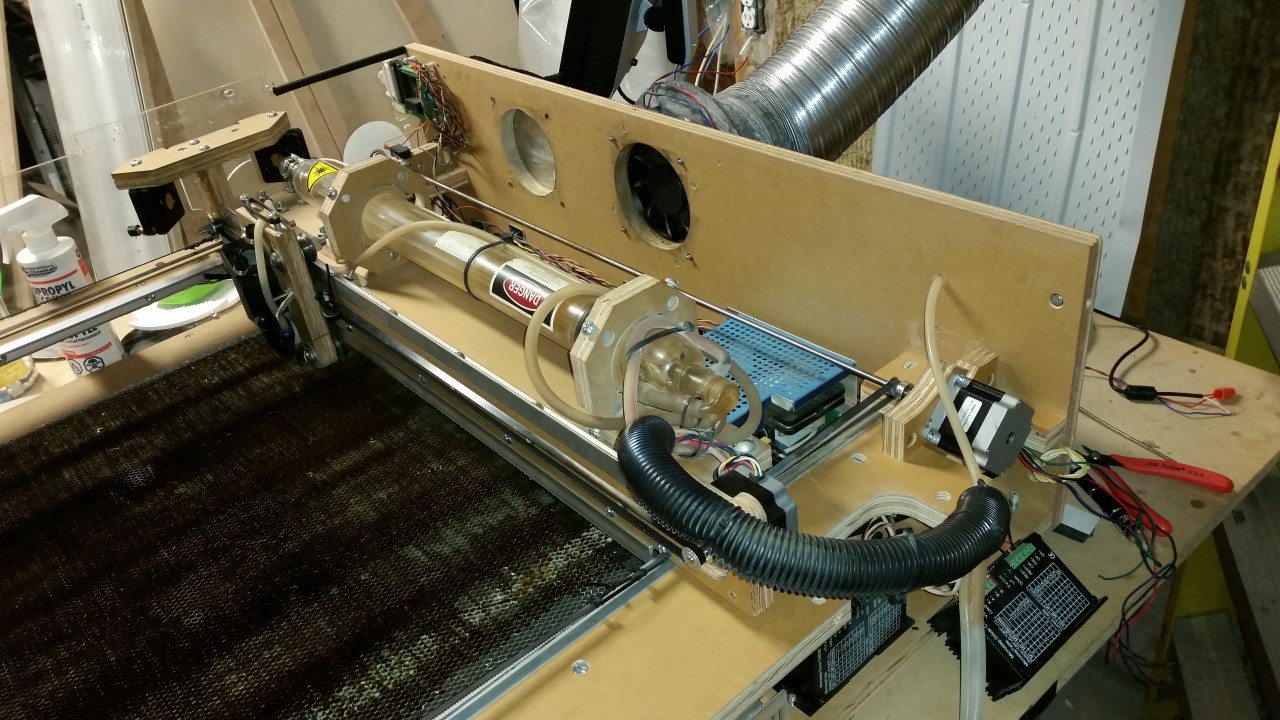
Our laser cutter partially taken apart to repair a faulty Y stepper motor.
I’ve been fervently working on the second version of the Venturii protocol for talking to Venturii devices. My goal remains the same, to produce an open source data acquisition and control platform that will have something for both the do-it-yourself’ers, wanting to hit the ground running but design and build their own devices, and we’re producing purpose-built devices for those who just want to buy something off the shelf that works.